
During many conversations today, there is a “buzzword” that is frequently mentioned that should never be left as a “what if” but rather should be directly implemented into all products. Accessibility is a crucial aspect of creating inclusive and user-friendly content. When designing experiences for an audience, it’s essential to consider all types of audiences, not just those who mirror our own reflections. With this, not only do you promote inclusivity but eliminate the barriers and ensure equal opportunity for distribution. Not to mention the increased reach and market potential that is enlarged by broadening your audience.
A simple step to make your real-time streams more accessible is by adding closed captions. The transcription of spoken words, sound effects, and other audio elements make a significant purpose in making content accessible to individuals with hearing impairments, but the importance extends beyond that.
Not only do closed captions benefit those with hearing disabilities, but they also cater to non-native speakers who may struggle with understanding spoken language nuances or individuals who prefer to watch videos without sound or in a noisy environment.
Web Captioner is a free captioning service that makes your event, speech, or classroom lecture accessible with real-time captioning. There are alternative options if you have a different captioning service or tool preference, but we will be using Web Captioner for this walkthrough.
Part I. Setting Up Web Captioner
Inside Web Captioner, create an account and direct your attention to Settings. On the right-hand side of Settings, click on Experiments and add the following feature by opening this sharable link. This action will add a share application inside the Experiments tab.
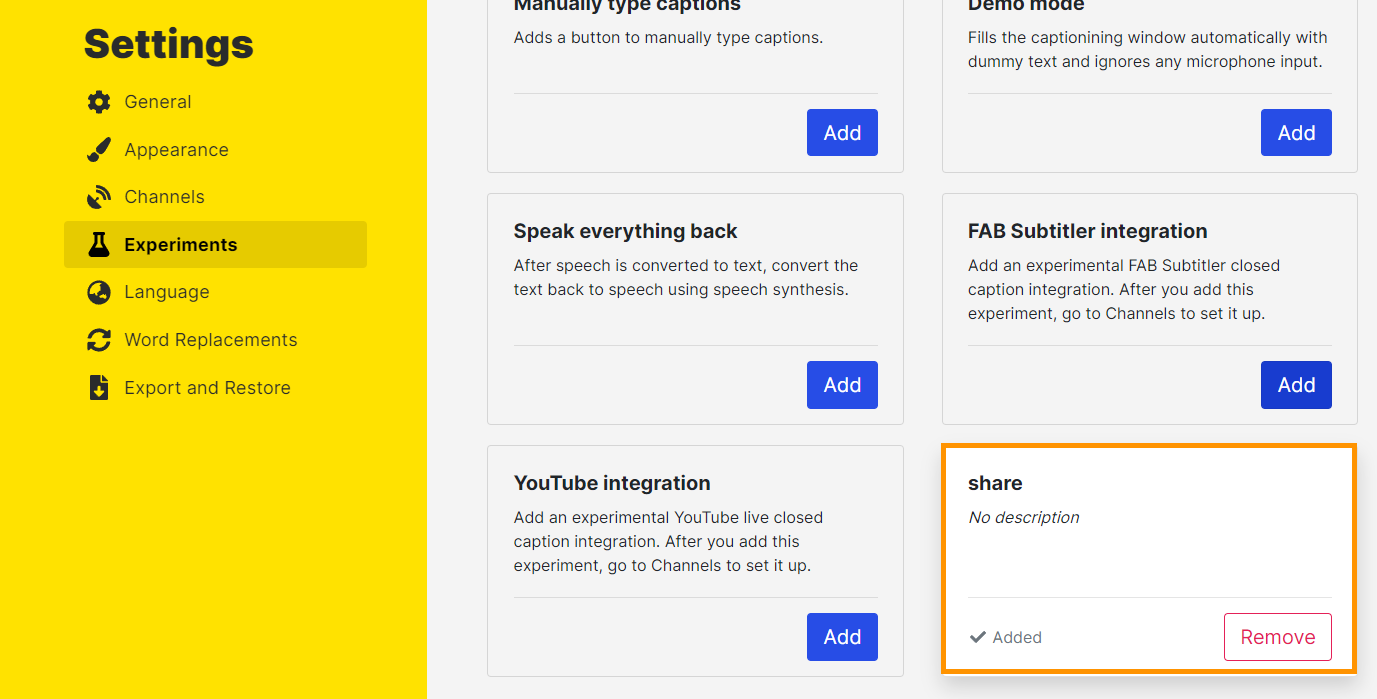
At the bottom left, there is a new icon that should have been added. It is a transmission tower of the color gray.
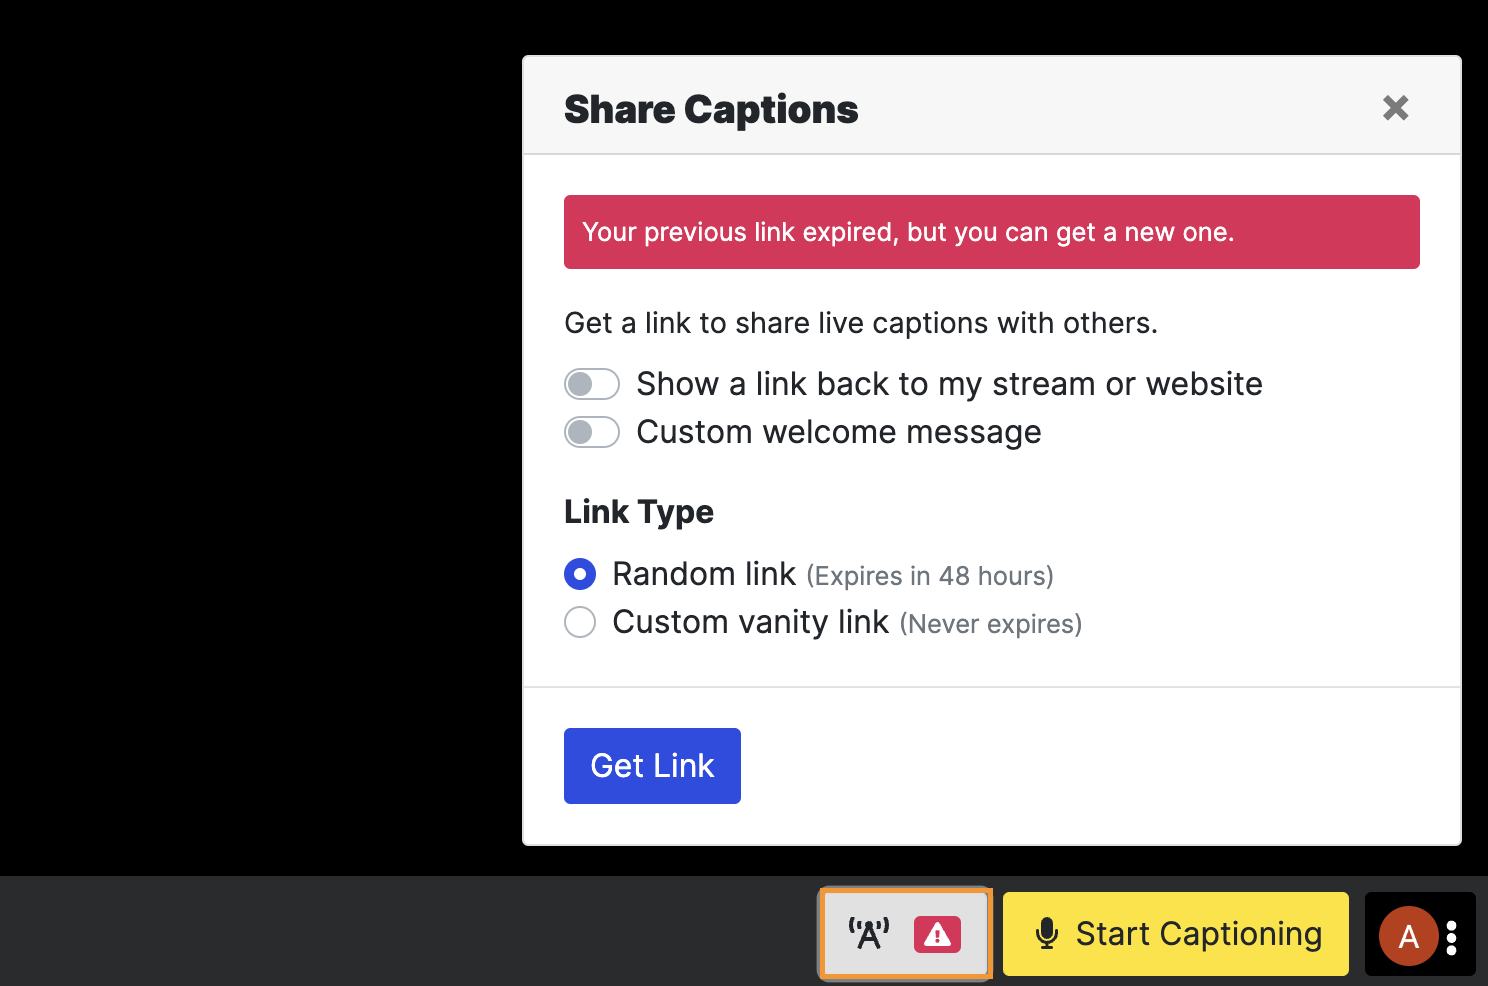
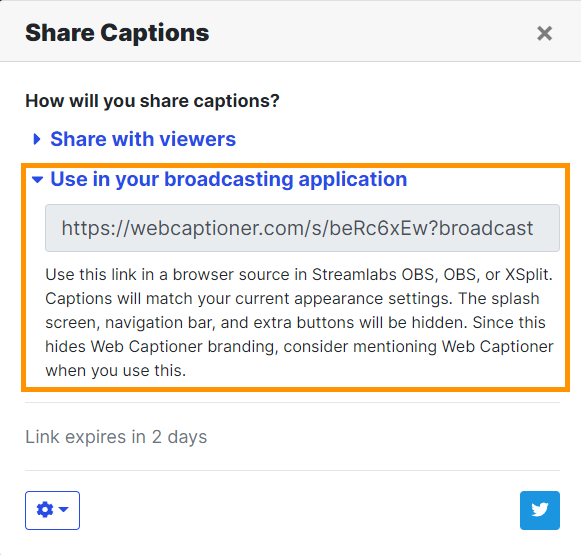
Tap the button, and you will see options to have the link expire or to add vanity options. For this setup, we will use the link that expires. There will be two links available, and for this setup, we will select Use in your broadcasting application.
Part II. Coding the Button for the Broadcaster
Added now to your IDE, create an HTML file with the title of Captioner. For the following code, you will want to change the following:
- https://webcaptioner.com/s/SHARE_LINK?broadcast
- https://viewer.millicast.com/?streamId=accountId/streamName
<!DOCTYPE html>
<html>
<head>
<style>
html{
overflow: hidden;
}
.player{
position:relative;
overflow: hidden;
   top: -8px;
   left: -.88%;
   width:102%;
padding-top: 56.25%; /* 16:9 Aspect Ratio (divide 9 by 16 = 0.5625) */

}
.millicast{
  position: absolute;
  display: block;
  top: 0;
  left:0;
  bottom: 0;
  right: 0;
  width: 100%;
  height: 100%;
  border: none;
  }

.captioner{
position:absolute;
display:none;
left: 0px;
width: 100%;
height: 23%;
bottom: 0;
opacity: 0.4;
frameborder: none;
scrolling: no;


}
.captions{
position:absolute;
display:block;
top: 1%;
left: 2%;

}
.captions:hoover{
position: absolute;
display:block
top: 1%;
right: 1%;

}

.d-inline-block{
color: #000000;
}
img {
  opacity: 0.6;
  background-color: transparent;
  position:absolute;top:0;left:0;width:100%;height:100%;
}

span.d-block w-100{
font-size:1em;
{

</style>
<script type="text/javascript">

function closeC() {
    var captions = document.getElementById('captions');
    if (captions.style.display === 'block') {
        captions.style.display = 'none';
    }
    else {
        captions.style.display = 'block';
    }

};

</script>
</head>
<body>
<div class="player">
<iframe class="millicast" src=" https://viewer.millicast.com/?streamId=accountId/streamName" frameborder="none" scrolling="no" playsinline allowfullscreen></iframe>
<iframe id="captions" class="captioner"  src="https://webcaptioner.com/s/SHARE_LINK?broadcast" ></iframe>
<button id="CC" class="captions"  type="button" onclick="closeC()" >CC</button>
</div>

</body>
</html>
To receive an explanation of the code, watch the video tutorial of this guide:

Part III. Viewing the Captions
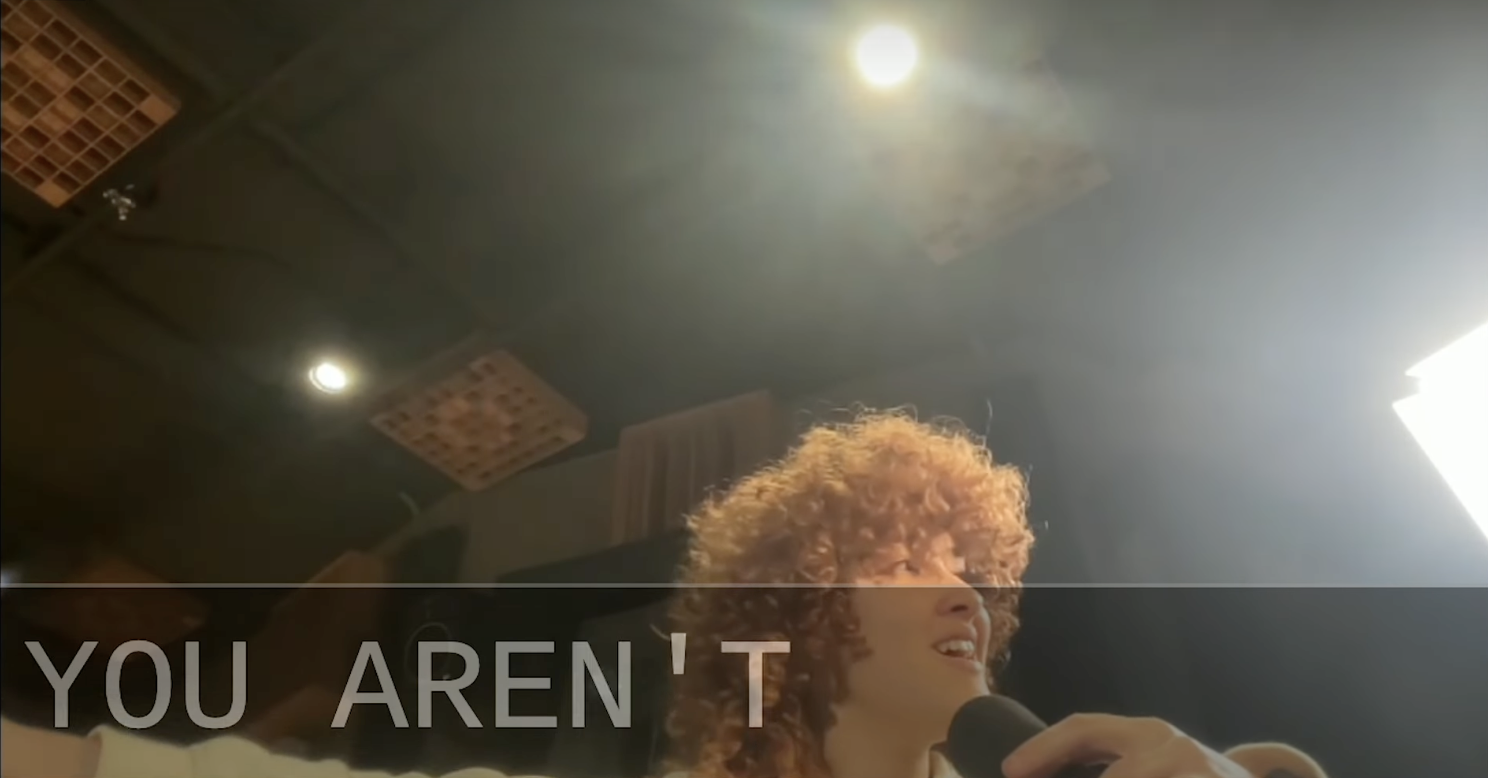
The code will add a button on the top left that can enable your Web Captioner share link.
Part IV. Closing Thoughts
Overall, this simple implementation is to show how one simple step can make your real-time streams more inclusive to all audiences. Accessibility should not be thought of as more than just a set of guidelines or legal obligations; it is a profound expression of empathy and rest for our fellow human beings. It is about recognizing that we all navigate the world differently, with unique ways of perceiving, understanding, and interacting. When we design with accessibility in mind, we open doors to education, employment, information, and entertainment for everyone, ensuring that no one is left behind.