Podcasts are a quickly growing artform that more and more creators are taking part in. It can be hard, especially as a new creator, to compete with podcasts that have been established for longer. Good audio quality can set your podcast apart from the pack, but new equipment can be expensive. Enhancing podcast audio using Dolby.io has never been easier thanks to our new integration with Zapier!
Let’s take a listen to some raw podcast audio that I’d like to improve:
The speech in this clip is a little unclear due to some background noise and the use of cheaper audio equipment.
Let’s see how we can upload a file to OneDrive and use Zapier’s new integration with Dolby.io to enhance this podcast audio without having to buy expensive equipment, write any code, or re-record the episode!
Making a Zap for Podcast Audio Enhancement
To get starting on enhancing podcast audio using Dolby.io, you’ll need a free or paid OneDrive account, a Dolby.io account, and a Zapier account. Both Zapier and Dolby.io have a free trial feature that can be used before deciding to purchase anything.
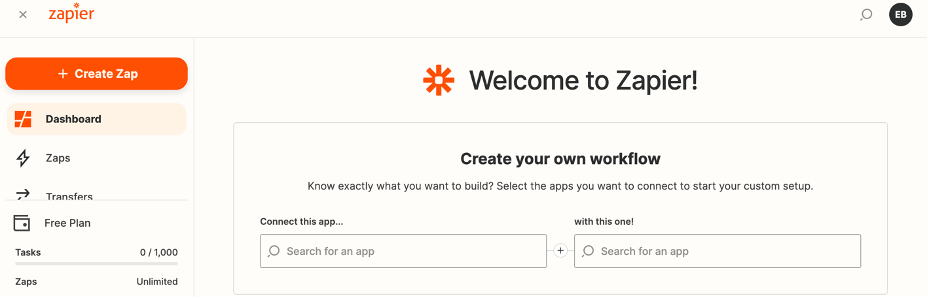
Go to the Zapier webpage to sign in. From there, you will be brought to your account homepage where you can start making a new ‘zap.’
Triggering a Zap with OneDrive – Code Block #1
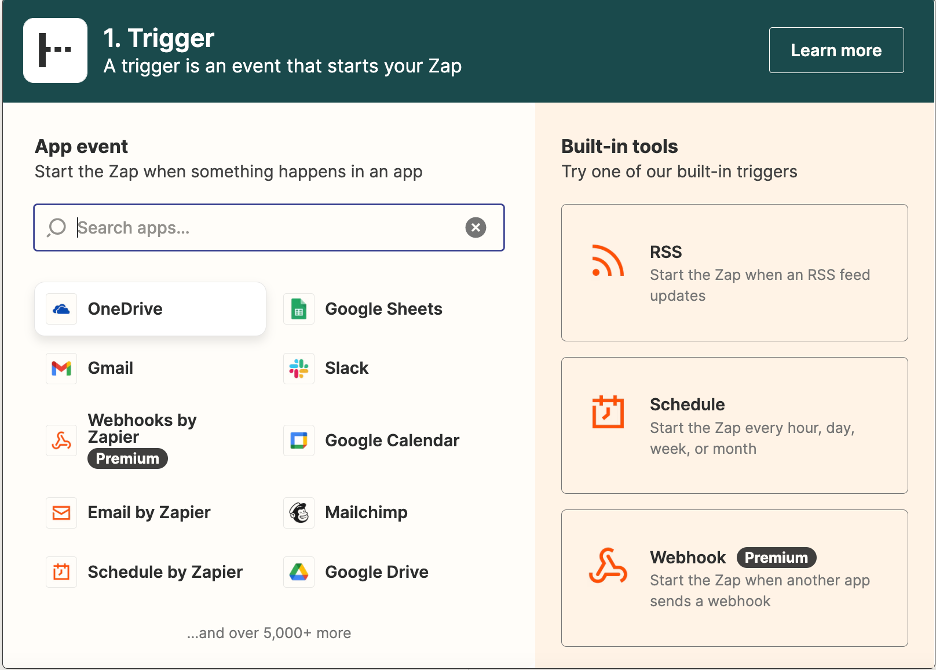
Every zap’s first code block is something called a ‘trigger.’ This trigger, when activated, sets off all the following code blocks to perform their actions. For this guide, we will choose OneDrive to set off our zap.
Once you add the OneDrive action, choose the event ‘New File’ to activate the zap anytime a file is uploaded to a specific folder.
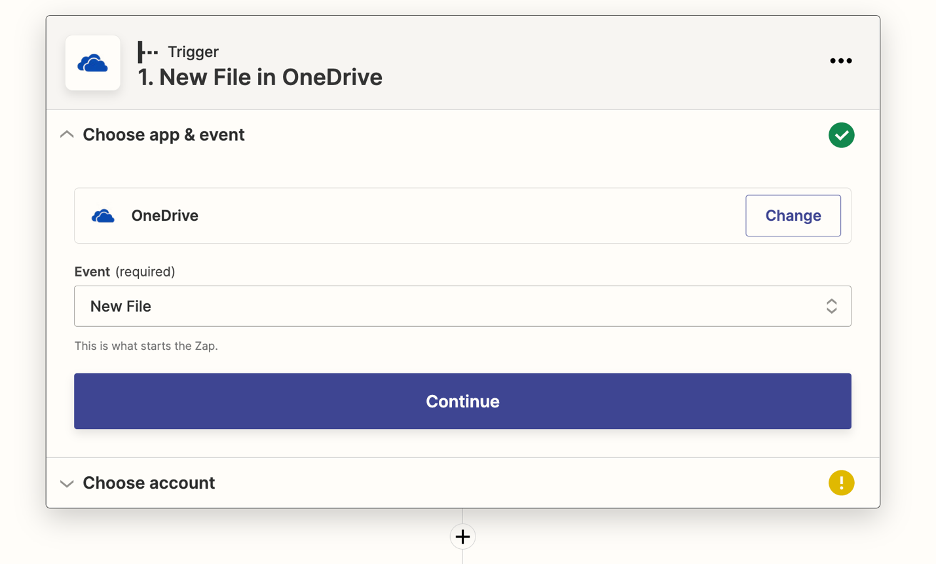
Once you do this, you will be prompted to connect your own OneDrive account by signing into it. After your account is signed in, choose the folder you want OneDrive to look at for new files.
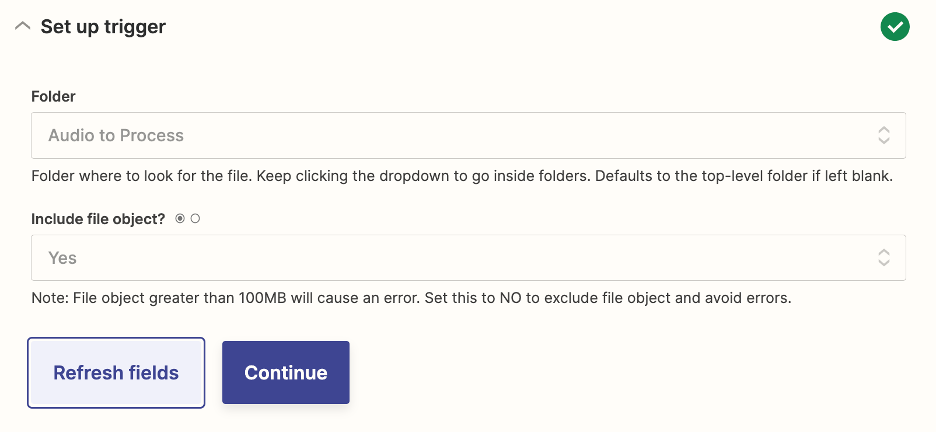
In my case, I want the zap to trigger anytime I add a new file to my folder ‘Audio to Process,’ but change this folder name as applicable.
Enhancing The Audio File – Code Block #2
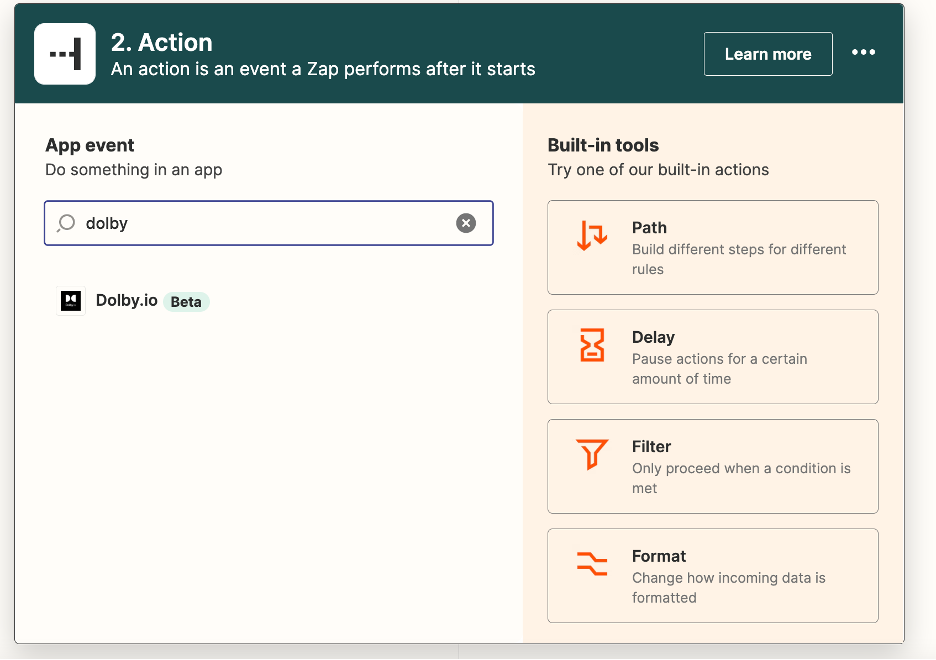
The next code block we are adding is the first ‘action’ in our zap. This is the first code block that will execute once the zap is triggered. Our first action is going to be enhancing podcast audio using Dolby.io as new files are uploaded to OneDrive. We can find this integration by typing ‘dolby’ into the action search bar.
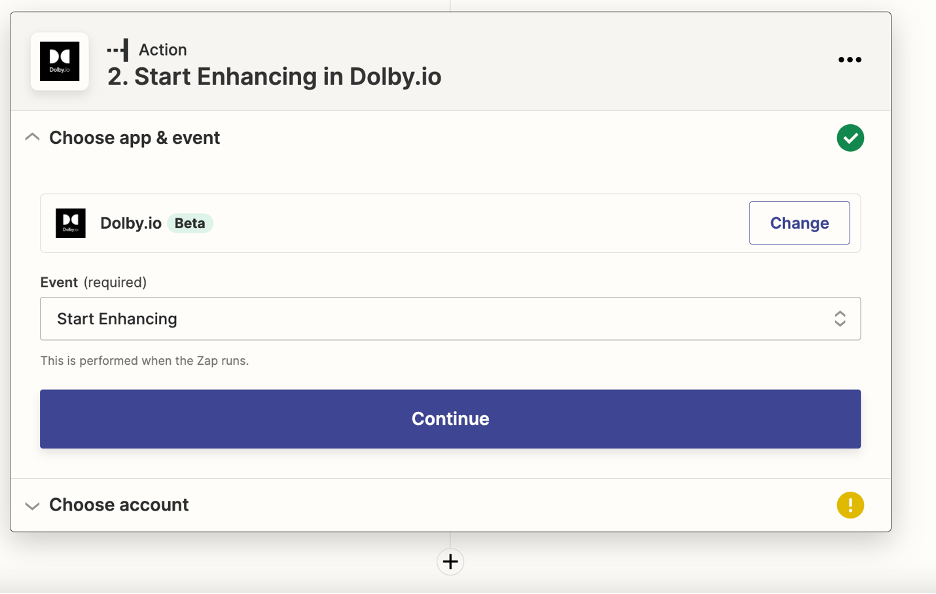
Once you add the action, choose the event ‘Start Enhancing in Dolby.io.’
Authenticating Your Dolby.io Account with Zapier
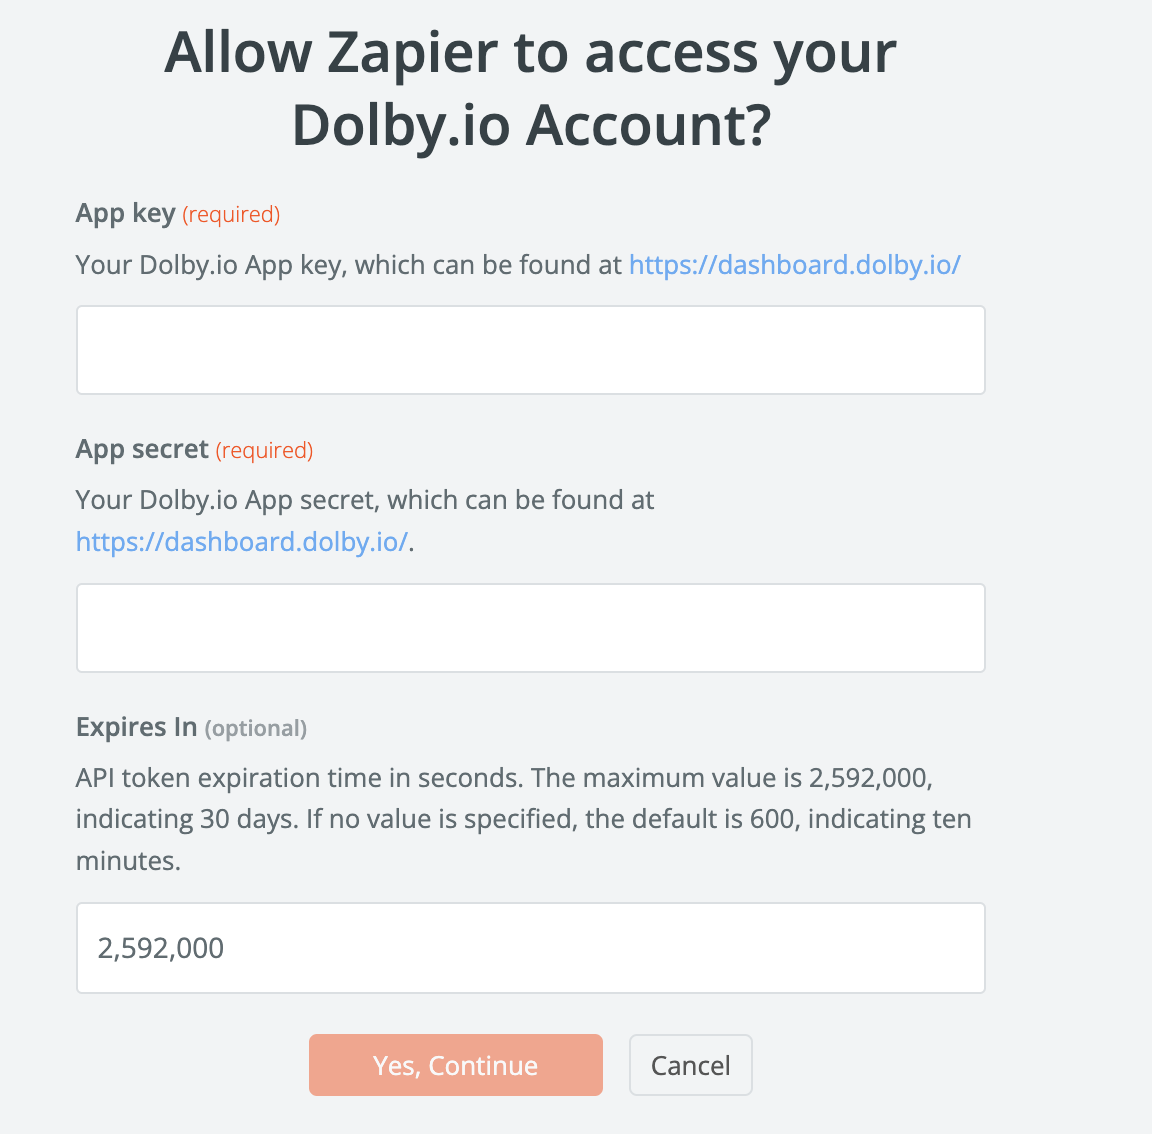
Before you can use this Zapier integration, you’ll have to connect your Dolby.io account. To do this, log into Dolby.io in a second tab and navigate to your dashboard. Once there, you can find your app key and secret key that Zapier will ask for by clicking on ‘Get API keys’ next to the name of your app.
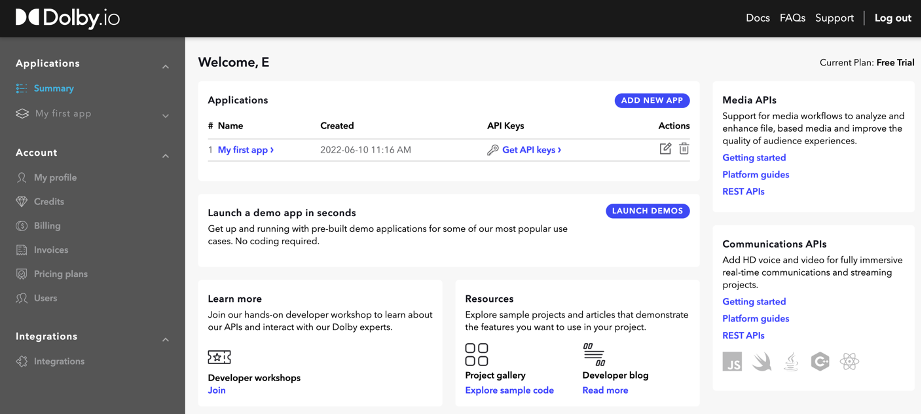
Once you do this, take note of your two unique keys before returning to Zapier. Then, paste them into the Zapier pop up to connect your Dolby.io account and start using the Media APIs.
Below, I chose to have the API token expire after the maximum amount of time. When this time runs out – don’t worry! Zapier will automatically create a new API token for you.
Setting Up The Enhance Action
With Zapier connected to your Dolby.io account, you are now ready to finish setting up the enhance action.
Choose the pictured settings for the rest of the action block:

I chose ‘Podcast’ as the content type for this tutorial, but there are lots of different options – feel free to explore them and choose what is best for your audio enhancement needs!
Delay for Enhancement – Code Block #3
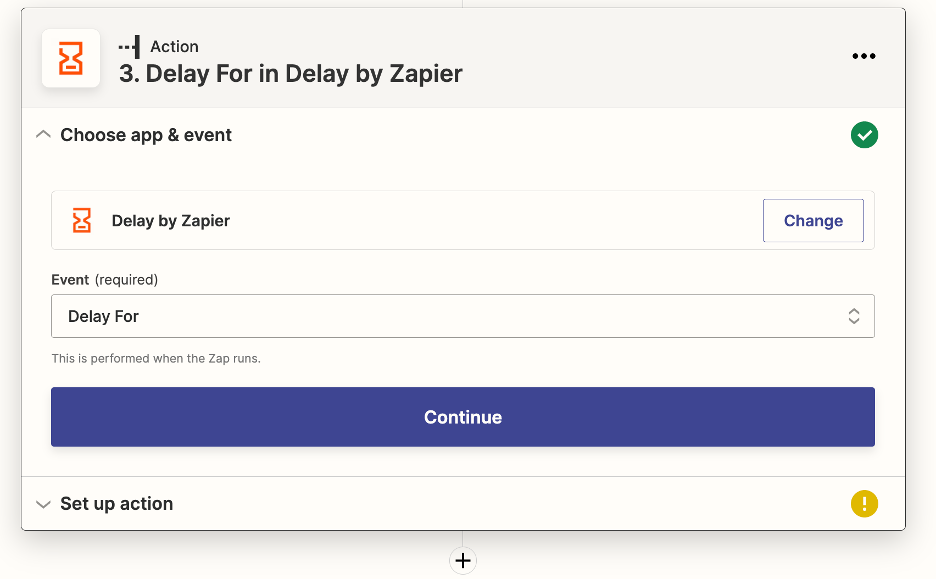
Enhancing an audio file can take some time, so let’s add a delay to the zap so that the file is fully enhanced before the zap continues. You can do this by choosing ‘Delay’ as the action – which is one of Zapier’s built-in tools.
In the action, choose the event ‘Delay for’:
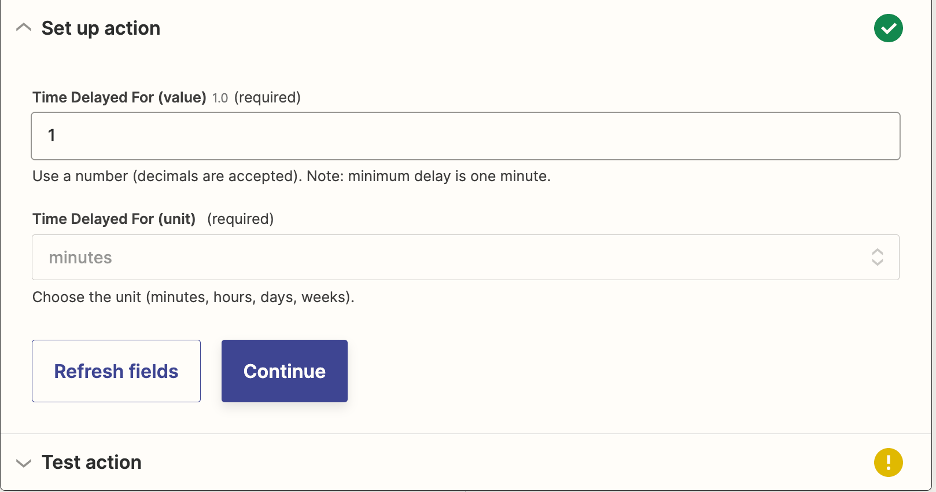
For setting up the time delay, it’s best to have your delay be around half the length of the audio files you want to enhance. If your podcast episodes are generally an hour long, for example, set your delay to be thirty minutes. I will be setting mine to one minute for the purposes of this tutorial, but change it as you see fit!
Error Catching for Audio Enhancement
The following two code blocks are included for error checking purposes and are not strictly required for this workflow. That being said – it’s recommended to use them! The first block will poll Dolby.io to ensure the enhancement on your file has finished processing and the second block will only allow the zap to continue executing if your file has finished processing.
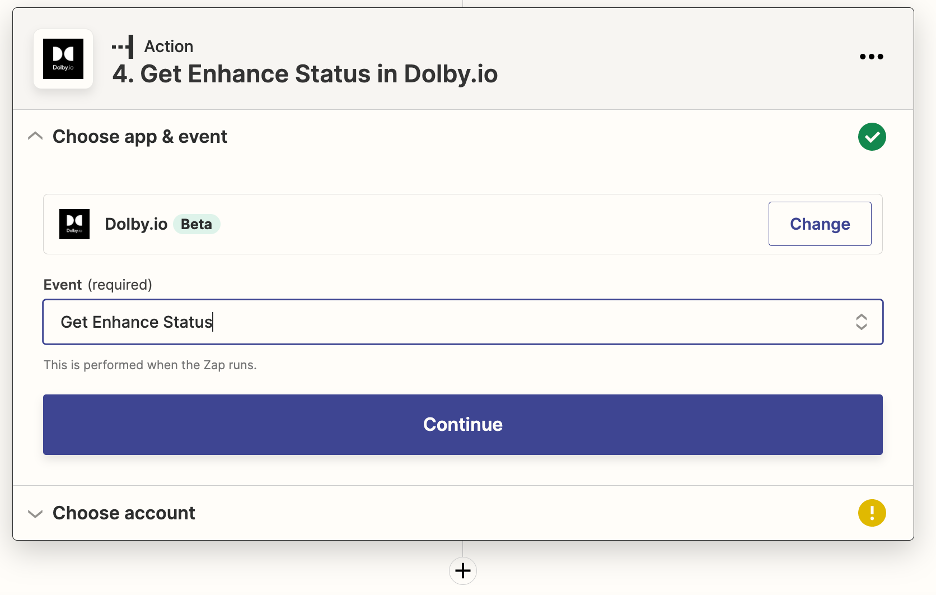
Checking The Enhancement Progress – Code Block #4
Add a Dolby.io action with the event ‘Get Enhance Status’:
In the set up menu, choose the ‘Start Enhancing with Dolby.io’ job ID from code block two as the job ID:
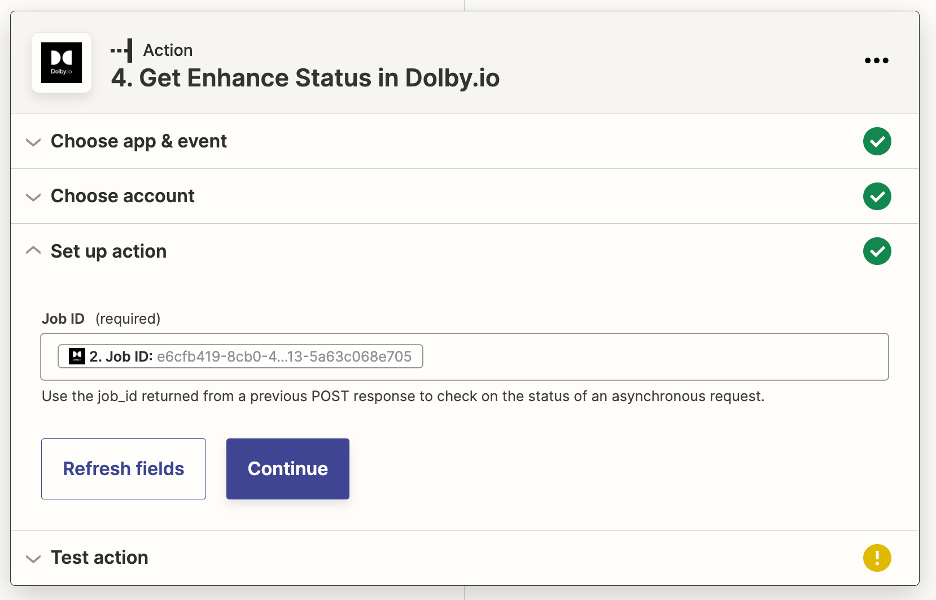
This action will return multiple values, one of which being ‘Progress.’ This is what the next block will look at to confirm whether or not your file is ready to be downloaded.
Using a Filter to Ensure Audio Enhancement is Complete – Code Block #5
The filter action is a built-in tool with Zapier, just like the delay action we used before.
Choose the following in the filter setup menu:
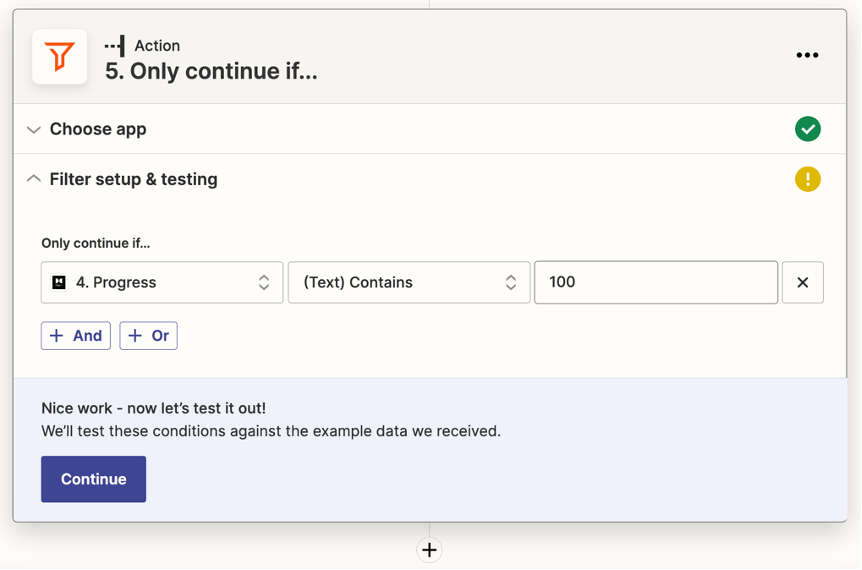
Now, the zap will only continue executing if the file is 100% done being enhanced. This prevents you from accidentally trying to download a file that is not done processing yet.
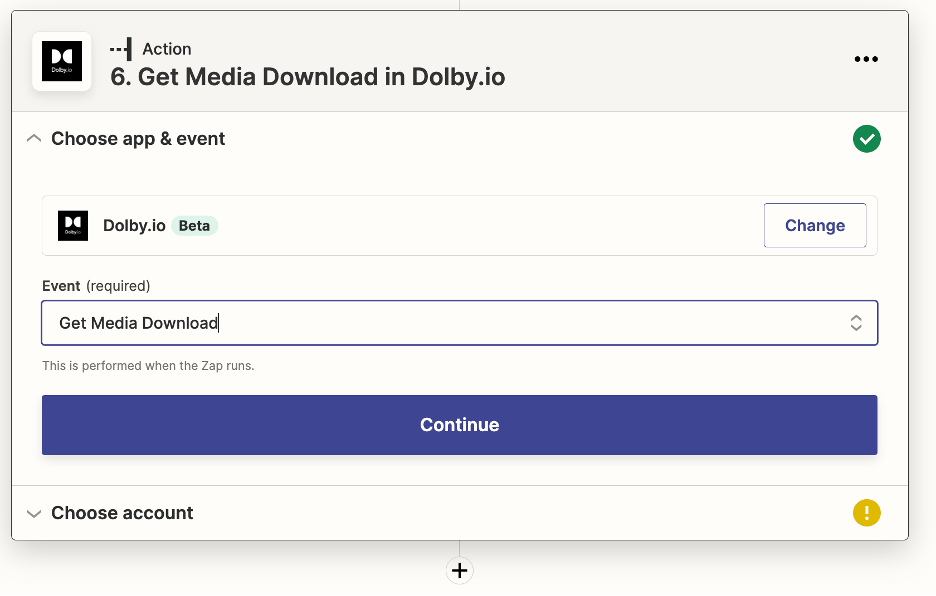
Downloading Our Enhanced File – Code Block #6
Now that the file is done being enhanced, you have to download it from the Dolby.io temporary media cloud.
Add another Dolby.io action with the event ‘Get Media Download’:
Choose the following action settings:
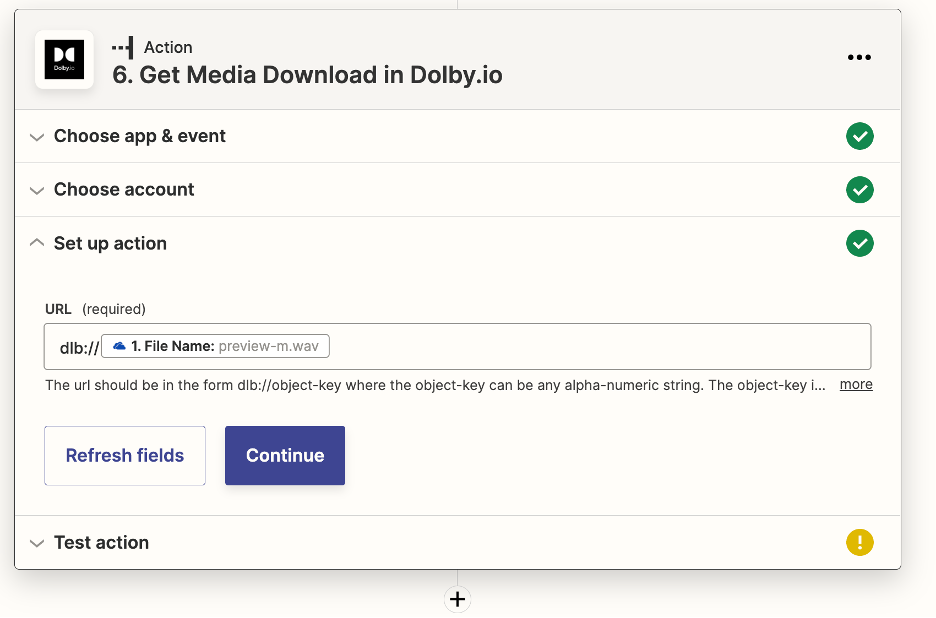
The URL here needs to match the one you used in code block two, ‘Start Enhancing in Dolby.io.’
Uploading Our File to OneDrive – Code Block #7
Now that you have downloaded the file, let’s upload it to OneDrive.
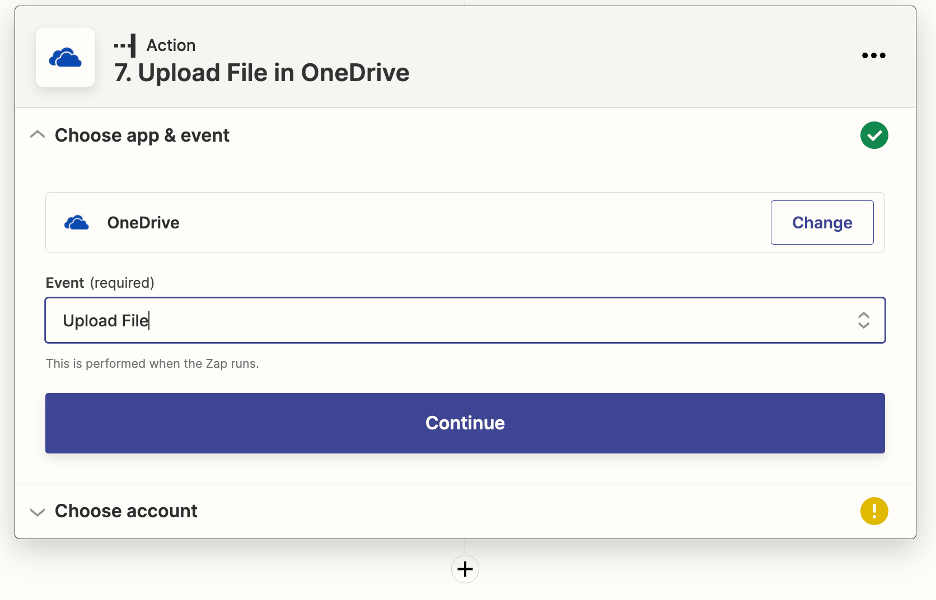
Add a OneDrive action with the event ‘Upload File’:
Choose the following action settings:
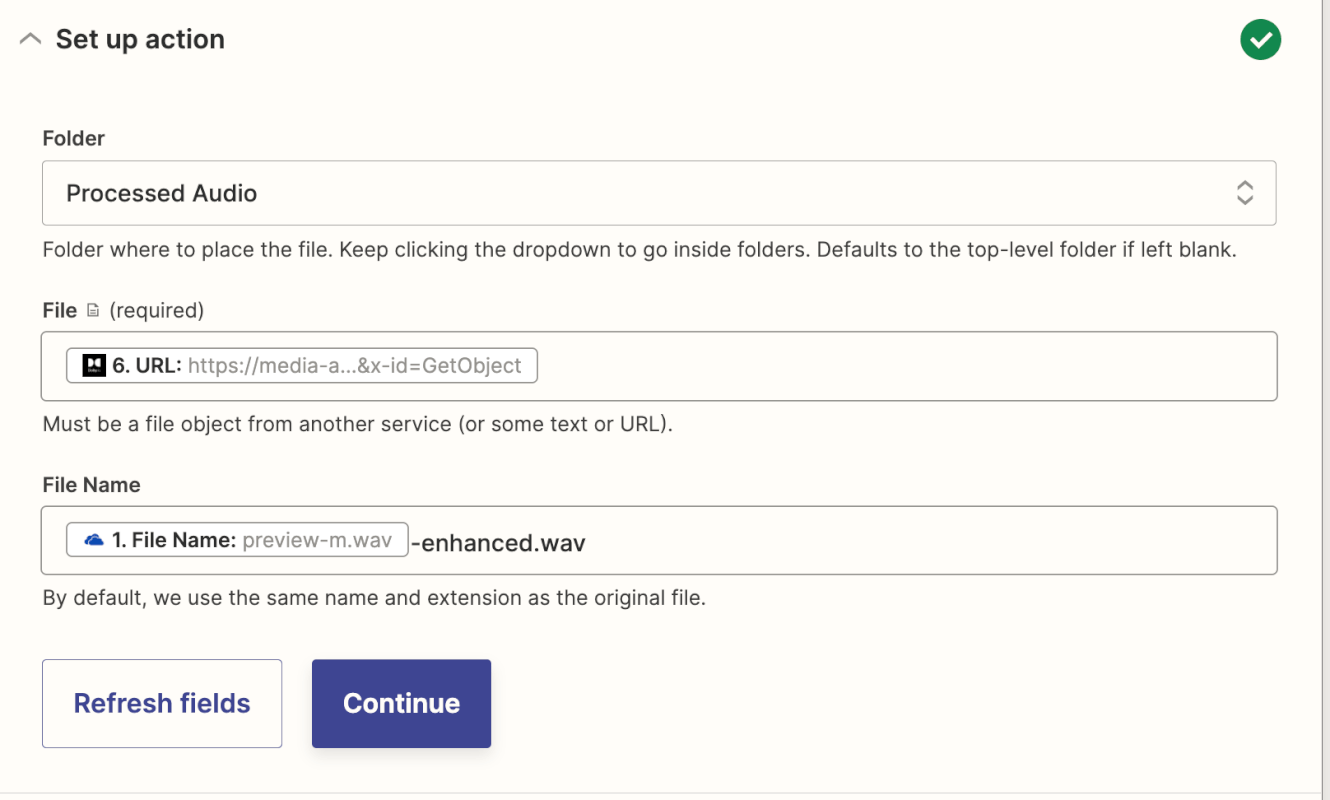
I want my file to be uploaded to my folder ‘Processed Audio,’ but choose the folder that works for you.
The file URL you need to use will be returned by code block six, ‘Get Media Download in Dolby.io.’
You can make the filename anything you’d like! I’d recommend using the original filename from code block one and adding some sort of indicator that it is now enhanced, like I did above.
Publishing and Using Your New Zap
Now that we have finished adding actions, go ahead and hit publish to create your own personal zap.
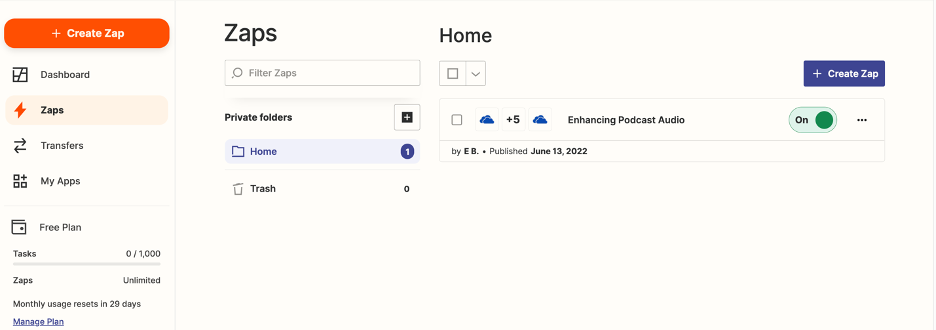
In your dashboard, you can now see the zap you just made is ready for you to run!
Let’s see how my audio sounds now that it has been enhanced.
And there you have it! Enhancing podcast audio using Dolby.io can be as simply as building a zap through Zapier. The best part is that from now on, anytime you need to enhance more podcast audio, all you have to do is drag and drop a new file into your OneDrive folder.
This is just one example of how the new Dolby.io integration with Zapier can be used. There are lots of different actions possible using the Dolby.io Media APIs and there’s more on the way. If you’d like to learn more about the Dolby.io Media APIs, check out the documentation available or the demo of the enhance API to see more about what’s possible!
What can you build with Zapier’s new integration with Dolby.io?