Learn how to use Kotlin to build an Android application that supports Voice Calls.
dolby.io provides Communication APIs that allow developers to create their own types of conference calling applications in a self-serve way. Here at dolby.io, we provide an Android SDK that makes it as simple as possible to set up in your own application. In this blog post, you’ll learn how to create an audio-only conference call using dolby.io and Android Studio.
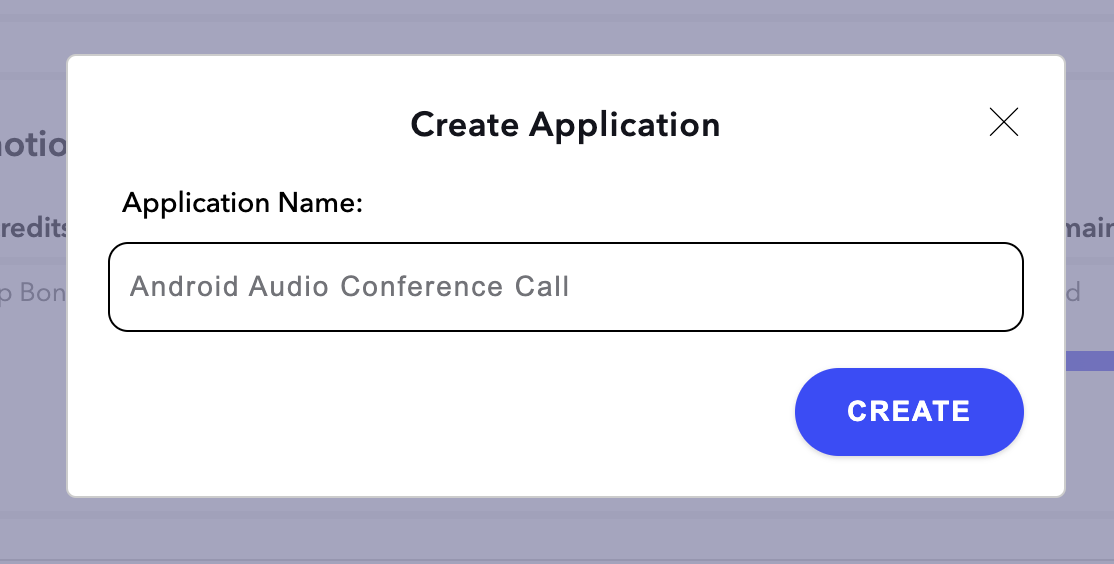
Before coding, we’re going to have to create a dolby.io account. Go to dolby.io and click on Sign Up to get started. Once you’re registered, click on “Add a New App” in the dashboard page.
Feel free to name the application anything you’d like! For the sake of this post, we’ll name it Android Audio Conference Call.
Once we’ve got that created, you’ll see a new application under the Applications tab on the dashboard. Now whenever we need the Communications API keys, we can access them by either clicking on our application under the Applications tab or on the left side-bar.
Setting Up Android Studio
Now that we’ve created an account and application, let’s start coding!
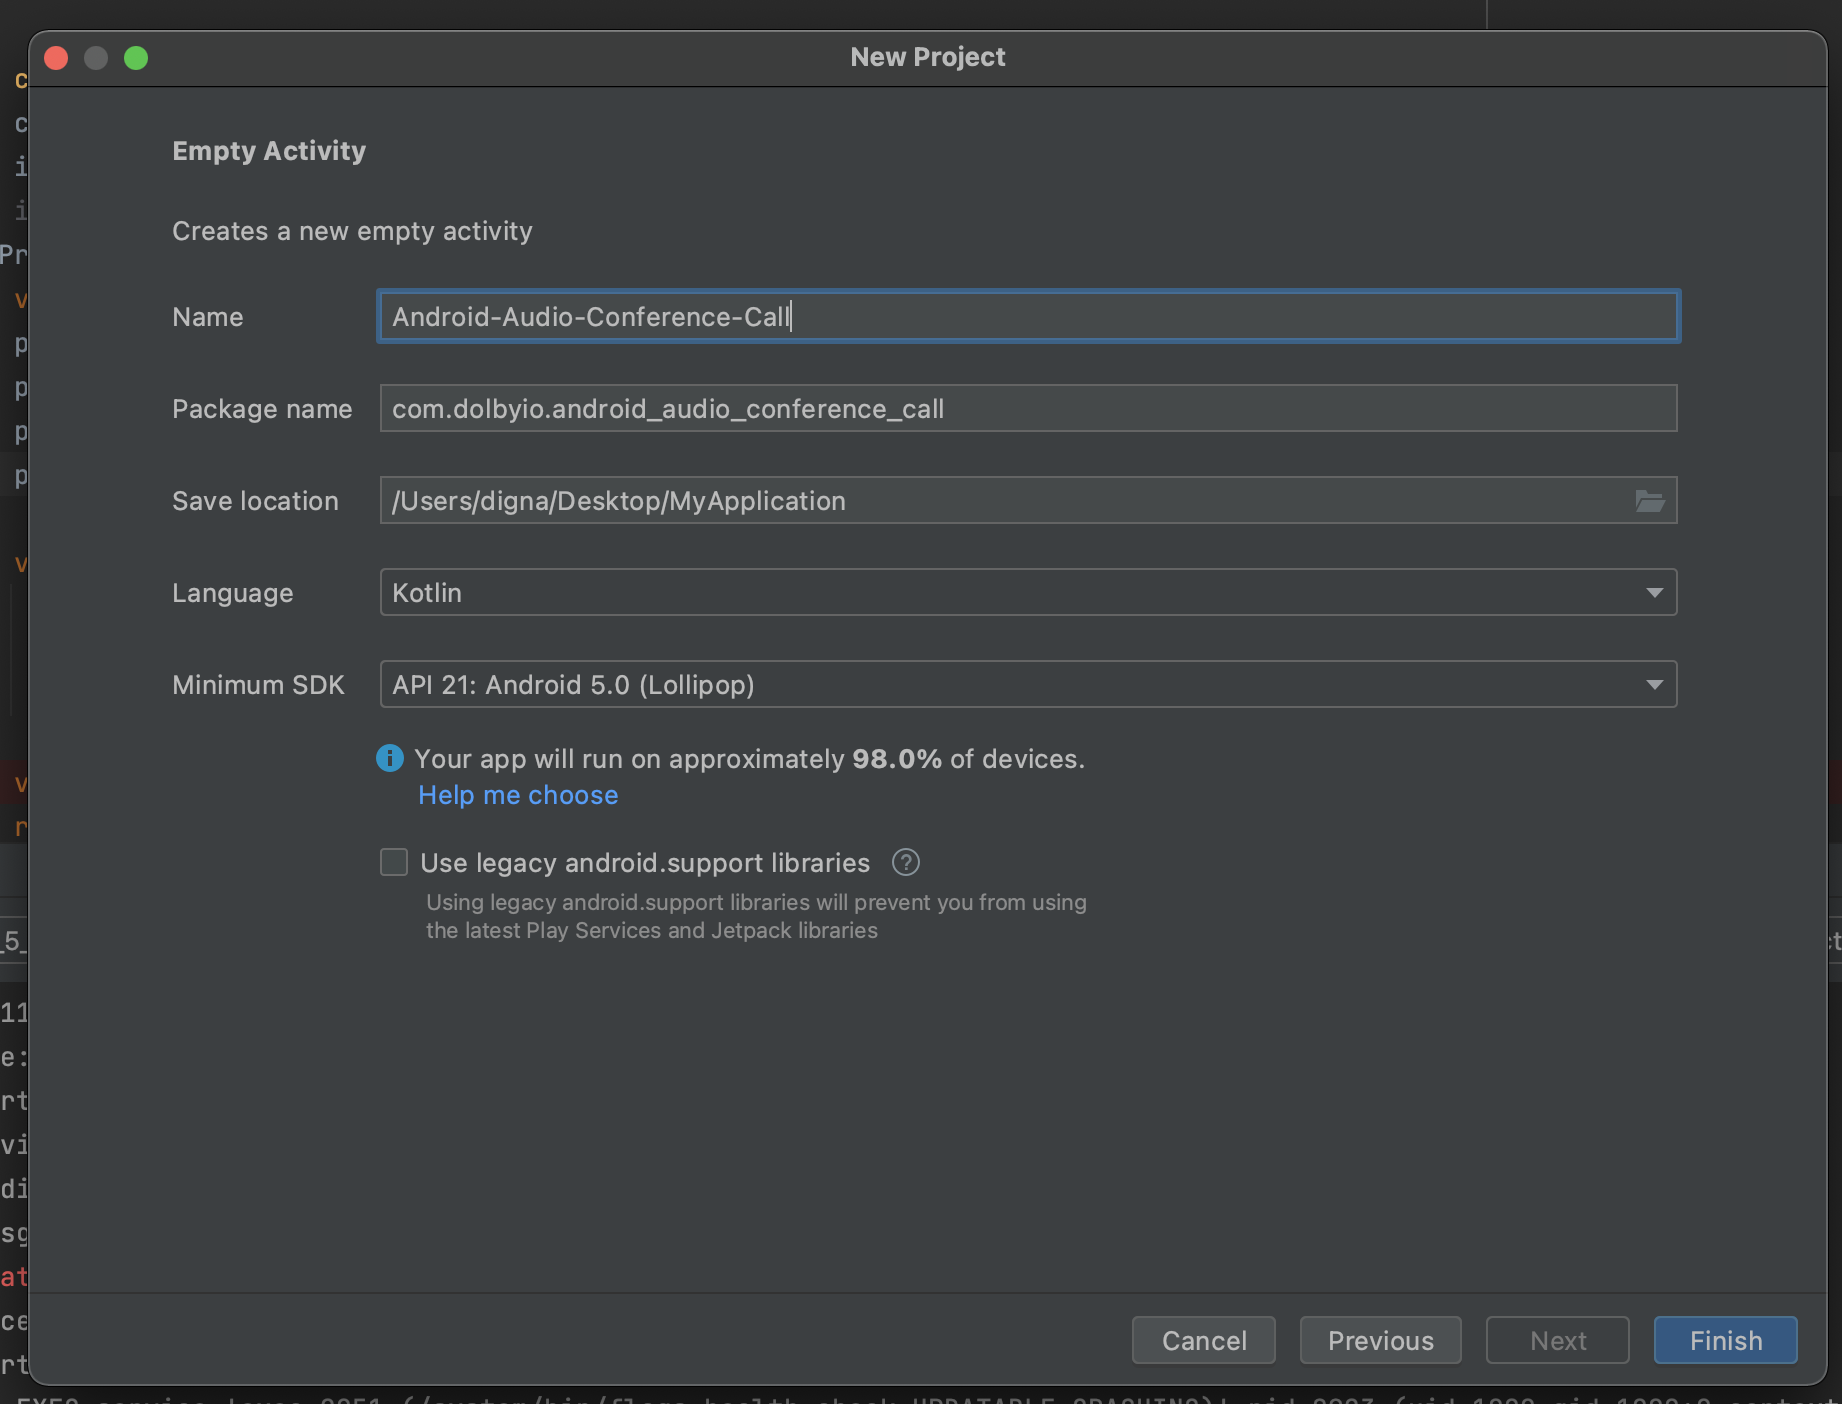
Open up Android Studio and create a new empty project. Go ahead and fill out the required fields and make sure to select Kotlin as the app’s language. Once you’re done filling that out, click finish.
Gradle Setup
After your app finishes loading, open up the build.gradle (app) file. Here we’ll include the VoxeetSDK depdendency and enable viewBinding.
You can find the latest version of the Android SDK here!
Next go to the AndroidManifest.xml file and add these permissions between the manifest and application tag to enable internet and record audio in your app.
Notice that we also implemented the onRequestPermissionResult function. After the user has allowed mic permissions, this updates our permissions if any changes have been made.
With this, our emulator we’ll be able to hear audio!
Initializing viewBinding and the SDK
Now that we’ve set up our dolby.io dashboard and Android Studio, let’s move onto viewBinding.
Inside the MainActivity.kt, we’ll initialize a viewBinding variable which, will let us reference the different views within our app.
Remember to grab your consumer key and secret from the dolby.io dashboard. We’ll initialize the Communications SDK after we initialize our binding variable.
Feel free to look at this guide if you’d like to learn more about initializing the SDK.
Next let’s create the layout of the MainActivity.kt XML file.
<?xml version="1.0" encoding="utf-8"?><androidx.constraintlayout.widget.ConstraintLayoutxmlns_android="https://schemas.android.com/apk/res/android"xmlns_app="https://schemas.android.com/apk/res-auto"xmlns_tools="https://schemas.android.com/tools"android_layout_width="match_parent"android_layout_height="match_parent"tools_context=".MainActivity"><EditTextandroid_id="@+id/etPodcastName"android_layout_width="match_parent"android_layout_height="wrap_content"android_layout_marginLeft="12dp"android_layout_marginRight="12dp"android_ems="10"android_hint="Enter podcast name here..."android_inputType="textPersonName"app_layout_constraintBottom_toBottomOf="parent"app_layout_constraintLeft_toLeftOf="parent"app_layout_constraintRight_toRightOf="parent"app_layout_constraintTop_toTopOf="parent"/><Buttonandroid_id="@+id/btnCreate"android_layout_width="wrap_content"android_layout_height="wrap_content"android_text="Create"app_layout_constraintBottom_toBottomOf="parent"app_layout_constraintEnd_toEndOf="parent"app_layout_constraintStart_toStartOf="parent"app_layout_constraintTop_toBottomOf="@+id/etPodcastName"app_layout_constraintVertical_bias="0.03"/><Buttonandroid_id="@+id/btnLeaveCall"android_layout_width="wrap_content"android_layout_height="wrap_content"android_layout_marginBottom="100dp"android_enabled="false"android_text="Leave Call"android_visibility="invisible"app_layout_constraintBottom_toBottomOf="parent"app_layout_constraintEnd_toEndOf="parent"app_layout_constraintHorizontal_bias="0.498"app_layout_constraintStart_toStartOf="parent"/></androidx.constraintlayout.widget.ConstraintLayout>
Implementing the Conference Call Helper Functions
Once we’ve set up our XML, let’s implement the functions that will help us create a conference call.
Add these function definitions in your MainActivity.kt file.
class MainActivity :AppCompatActivity(){...// open a session for the participant creating a callprivatefunopenSession(
name: String,
externalID: String ="",
avatarURL: String =""): Promise<Boolean>{...}// create a call Promise objectprivatefuncreateConferencePromise(
conferenceName: String
): PromiseInOut<Conference, Conference>{...}// returns a Promise object allowing us to join the call privatefunjoinCall(conferencePromise: Promise<Conference>): PromiseInOut<Conference, Conference>{...}// closes the participant's session// called when participant leaves the callprivatefuncloseSession(){...}// logs the error to logcat if VoxeetSDK create or join promise failsprivatefunerror(): ErrorPromise?{...}}
Implementing openSession() function
The openSession() function will allow us to register the participants’ info in the Voxeet service. Before even creating a conference, a user must always open a session.
privatefunopenSession(
name: String,
externalID: String ="",
avatarURL: String =""): Promise<Boolean>{// opens a new session for participantreturn VoxeetSDK.session().open(ParticipantInfo(name, externalID, avatarURL))}
Implementing createConferencePromise() function
Once we have an open session, we can now create a conference call using the VoxeetSDK.
privatefuncreateConferencePromise(
conferenceName: String
): PromiseInOut<Conference, Conference>{// set paramaters for our conference callval paramsHolder =ParamsHolder()
paramsHolder.setDolbyVoice(isDolbyVoice)
paramsHolder.setVideoCodec("VP8")
paramsHolder.setAudioOnly(true)// add parameters to conference builderval conferenceCreateOptions = ConferenceCreateOptions.Builder().setConferenceAlias(conferenceName).setParamsHolder(paramsHolder).build()val createPromise = VoxeetSDK.conference().create(conferenceCreateOptions)returnjoinCall(createPromise)}
So what we’ve done so far is set up our parameters and create a promise for the conference call. The next step is to handle that promise object in the joinCall() function we’ll be implementing!
Implementing joinCall() function
The joinCall() function will allow us to now hop into the audio-only conference we create when we call the createConferencePromise() function handling the promise returned.
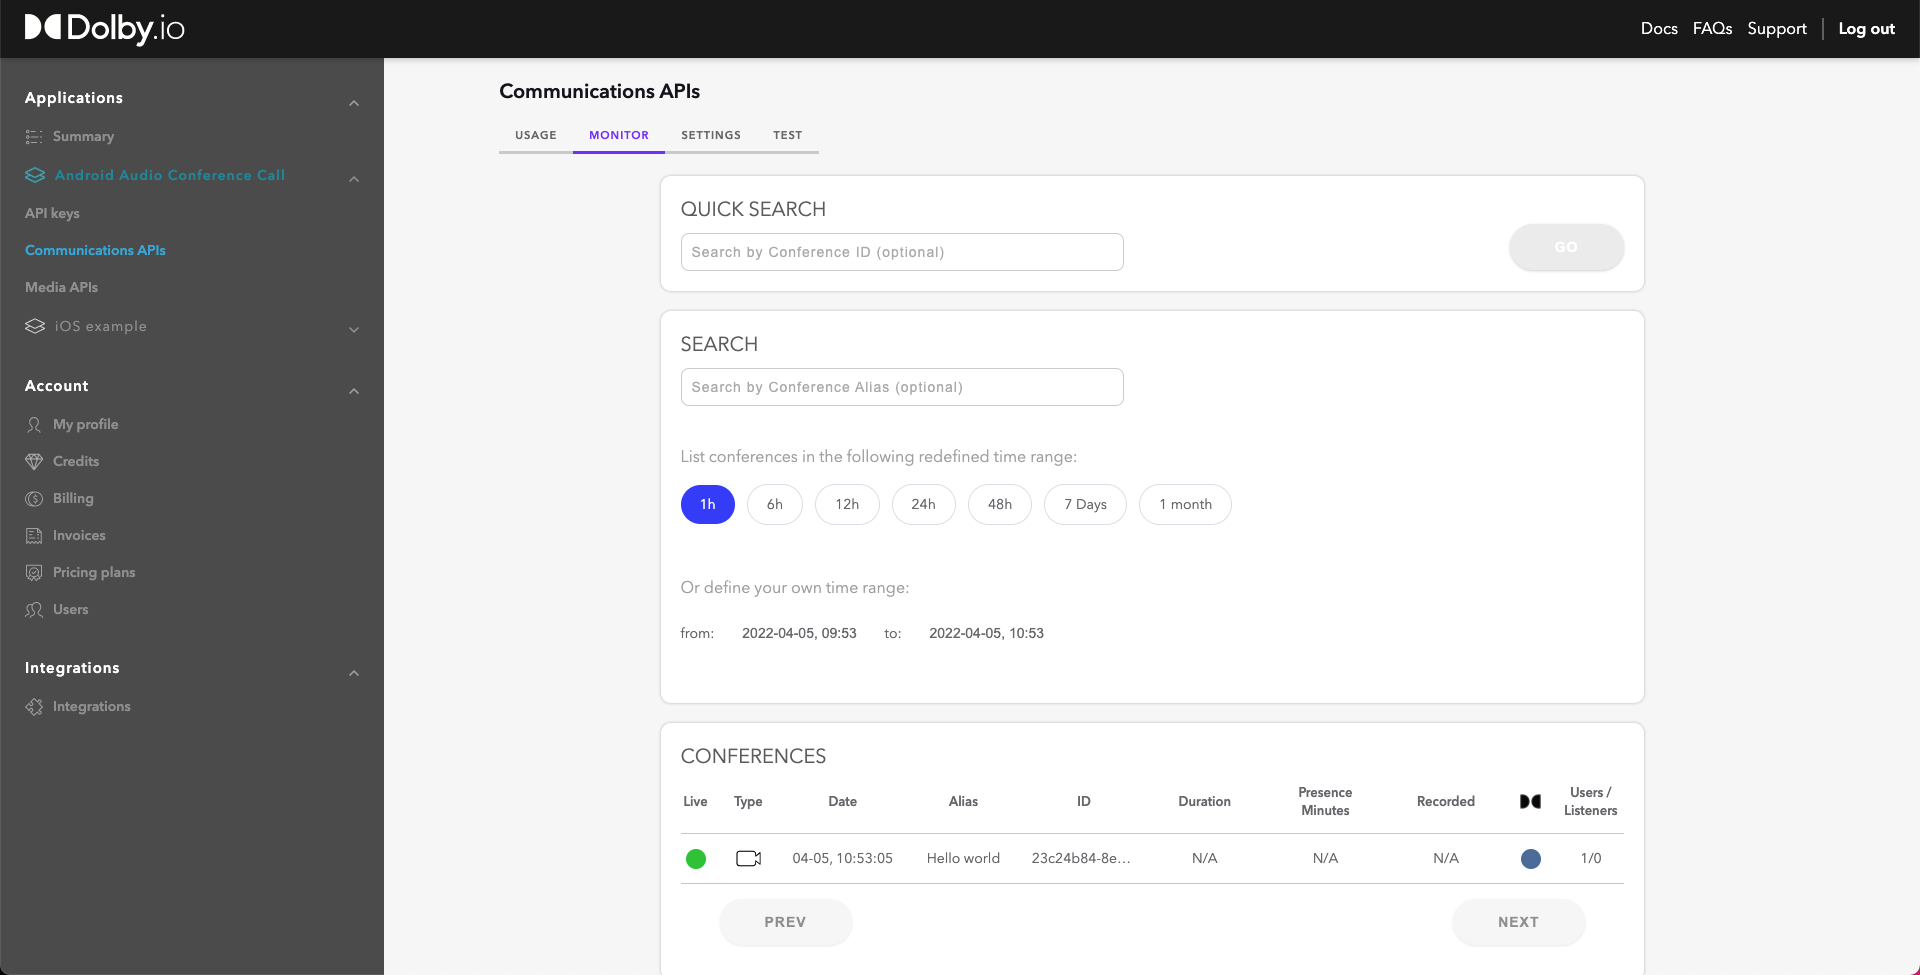
When you check the dolby.io dashboard, you’ll see a conference has been created. To get here, click on the application we created earlier and go to the monitor section under Communications APIs. Here you’ll be able to see the all the conference details including if the call is live, name, conference ID, and more!
Congrats! You’ve officially made your first audio conference call using dolby.io!


")