


To get started with playback and recording audio on Windows, Linux, and MacOS in a Python environment you should consider using the PyAudio library. PyAudio is a set of Python bindings for PortAudio, a cross-platform C++ library interfacing with audio drivers.
Installing PyAudio
Since PyAudio depends on PortAudio you will need to have it installed in order for installation to be successful.
You can find the official installation instructions for the latest version of PyAudio (0.2.11) on the project website but unfortunately there a few common problems new users run into.
For Python 3.7.x and later you can’t simply pip install pyaudio because the version-specific precompiled binaries are currently not available. Depending on your operating system you may need to take a few other extra steps as well.
On Windows
To help with installation on Windows, there is a repository of pre-compiled .whl options. You’ll need to pick the one that matches your system and Python build.
For example, for Python 3.7 choose:
pip install PyAudio‑0.2.11‑cp37‑cp37m‑win_amd64.whlIf you are using any of older versions of Python (specifically 2.7, 3.4, 3.5 or 3.6) you can simply go with:
pip install pyaudioThe above examples assume that you run pip within your Python virtual environment. If not use ‘python -m pip’ command instead.
On OSX
You need to have the Xcode command line tools and Homebrew installed in order to install PortAudio first.
brew install portaudioand then PyAudio will install with pip install pyaudio.
If you get an error like the following:
src/_portaudiomodule.c:29:10: fatal error: 'portaudio.h' file not found
#include "portaudio.h"
               ^~~~~
1 error generated.
error: command 'clang' failed with exit status 1
Then run something similar to the following command to help identify the location of PortAudio:
pip install --global-option="build_ext" --global-option="-I/usr/local/include" --global-option="-L/usr/local/lib" pyaudioOn Linux
You can install PyAudio with your package manager, such as:
sudo apt-get install python3-pyaudioImporting PyAudio
Let’s start with importing PyAudio:
import pyaudioIn order to verify that it was installed correctly, try getting the PortAudio version:
pyaudio.get_portaudio_version()Exploring Audio Input and Output Devices
This schema illustrates the basic concept behind PortAudio as it interacts with various native audio APIs.

Start by creating a PyAudio instance and getting some information on the default Host API (ie. audio driver):
pa = pyaudio.PyAudio()
pa.get_default_host_api_info()
The results are system specific and will likely look different on your own machine.
For example, here are the results on a Windows PC:
{'index': 0,
'structVersion': 1,
'type': 2,
'name': 'MME',
'deviceCount': 6,
'defaultInputDevice': 1,
'defaultOutputDevice': 4}
and on a Mac:
{'index': 0,
 'structVersion': 1,
 'type': 5,
 'name': 'Core Audio',
 'deviceCount': 5,
 'defaultInputDevice': 2,
 'defaultOutputDevice': 1}
Let’s see if there are any other audio interfaces and check their details:
for id in range(pa.get_host_api_count()):
    print(pa.get_host_api_info_by_index(id))
As you saw in the diagram above, there are multiple native audio APIs present in the Windows system: MME, DirectSound, ASIO, Windows Wasapi, and WDM-KS.
Let’s check the details of a default audio output device:
pa.get_default_output_device_info()Here are the results on Windows with built-in speakers:
{'index': 4,
 'structVersion': 2,
 'name': 'Speaker/HP (Realtek High Defini',
 'hostApi': 0,
 'maxInputChannels': 0,
 'maxOutputChannels': 2,
 'defaultLowInputLatency': 0.09,
 'defaultLowOutputLatency': 0.09,
 'defaultHighInputLatency': 0.18,
 'defaultHighOutputLatency': 0.18,
 'defaultSampleRate': 44100.0}
and on a Mac using a pair of headphones:
{'index': 1,
 'structVersion': 2,
 'name': 'Jabra EVOLVE 65',
 'hostApi': 0,
 'maxInputChannels': 0,
 'maxOutputChannels': 2,
 'defaultLowInputLatency': 0.01,
 'defaultLowOutputLatency': 0.004354166666666667,
 'defaultHighInputLatency': 0.1,
 'defaultHighOutputLatency': 0.0136875,
 'defaultSampleRate': 48000.0}
To get the full information on all available I/O interfaces, execute the code below:
for id in range(pa.get_device_count()):
  dev_dict = pa.get_device_info_by_index(id)
  for key, value in dev_dict.items():
      print(key, value)
Keep in mind that input and output sections of a single audio device will appear as separate items here. It also applies to different audio interfaces of a physical unit (e.g. analog/digital, line/headphone, optical/coaxial, etc.)
Audio Playback
In order to play to an output device you first need to open a wav file:
import wave
wav_file = wave.open('audio-clip.wav')
Then create an output stream (note that sample rate, channels and format of the stream have to match the wav parameters):
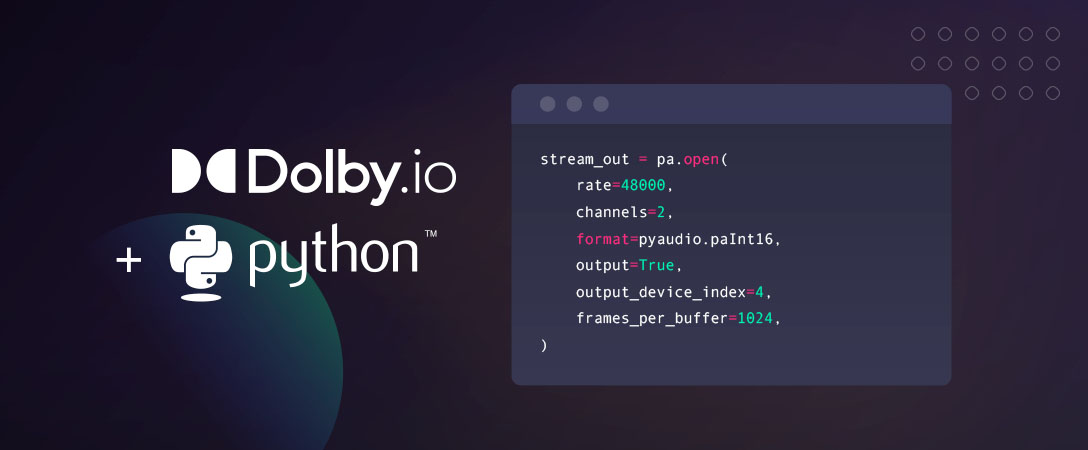
stream_out = pa.open(
    rate=wav_file.getframerate(),     # sampling rate
    channels=wav_file.getnchannels(), # number of output channels
    format=pa.get_format_from_width(wav_file.getsampwidth()),  # sample format and length
    output=True,             # output stream flag
    output_device_index=4,   # output device index
    frames_per_buffer=1024,  # buffer length
)
Finally fill the output stream with samples read from the file:
output_audio = wav_file.readframes(5 * wav_file.getframerate())
stream_out.write(output_audio)
You should hear a few seconds of your audio clip.
Audio Recording
Similarly, you can read audio samples from the input. Create an input stream with parameters corresponding to your input device configuration (check audio system settings to explore that):
stream_in = pa.open(
    rate=48000,
    channels=2,
    format=pyaudio.paInt16,
    input=True,                   # input stream flag
    input_device_index=1,         # input device index
    frames_per_buffer=1024
)

# read 5 seconds of the input stream
input_audio = stream_in.read(5 * 48000)
Finally, save the result to a wav output file:
output_filename = 'audio-recording.wav'
wav_file = wave.open(output_filename, 'wb')

# define audio stream properties
wav_file.setnchannels(2)        # number of channels
wav_file.setsampwidth(2)        # sample width in bytes
wav_file.setframerate(48000)    # sampling rate in Hz

# write samples to the file
wav_file.writeframes(input_audio)
Improving Quality
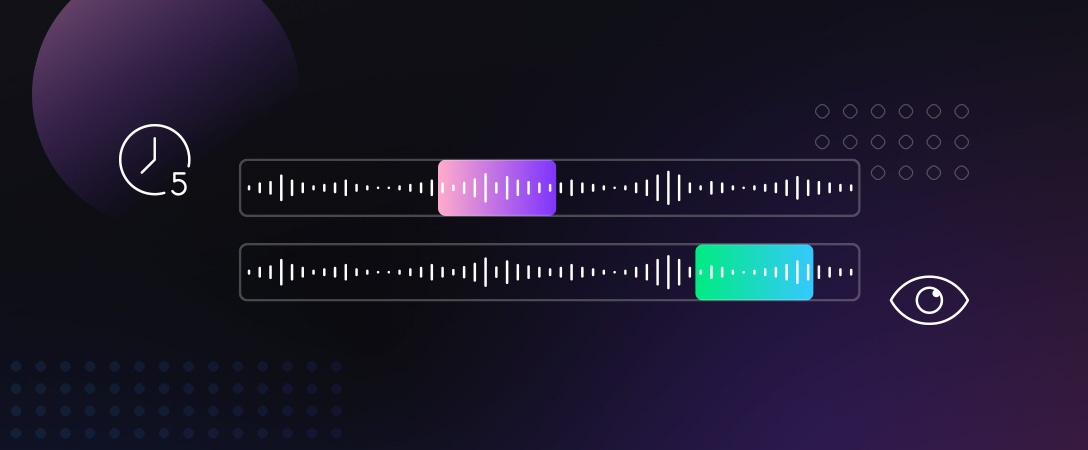
Quality depends highly on your microphone and local environment, as you may have picked up some noise or other quality issues in the captured audio. You can use the Media Processing Enhance API as a quick & convenient way to improve the audio without need of doing manual editing or buying expensive hardware.
You can find a workflow demonstration in python to upload the wav file you captured, process it, and download the result. Take a look at the sample code on GitHub for an example: https://github.com/DolbyIO/media-api-samples/blob/master/python/workflows/media_enhance.py
Summary
This article should give you a good start with getting up and running with PyAudio. There is a lot more you can do with this library beyond playing back or recording audio so keep an eye out for more sample workflows in future posts.


")