E-learning is now bigger than ever. The industry is expected to reach $336.98 billion by 2026, at a 9.1% year-to-year growth from 2018 to 2026.
Once the pandemic ends, virtual classes will continue to thrive. They’re a great way to educate students no matter where they are located and helping them learn at their own pace.
Keeping students engaged during virtual classes, however, is not an easy task. Many students complain that distance learning doesn’t feel like the real thing. That’s why if you want to retain their attention and ensure they get the most out of every online classroom, you need to pick the best virtual classroom software for your students.
1. Vedamo Virtual Classroom
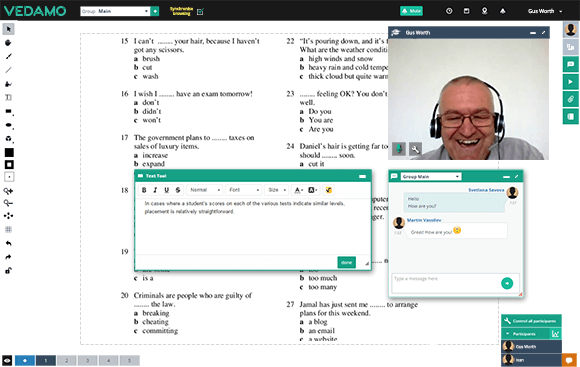
Vedamo is a virtual classroom software solution for teachers that want to educate their students remotely. Whether you’re teaching kindergarten or college, it comes with various tools to create an engaging learning experience.
For example, its online whiteboard functionality allows you to draw content and present it to your students just like you would in real life. It’s an excellent feature if you’re teaching subjects such as physics or math.
Vedamo’s video conference feature allows you to host up to 50 participants at once. Thanks to screen-sharing, you can easily share presentations such as PowerPoint files or videos.
To help you prepare for your upcoming class in advance, Vedamo comes with various session templates to choose from. It’s going to save you extra time so you can focus on other duties, such as correcting student homework.
2. BlueJeans
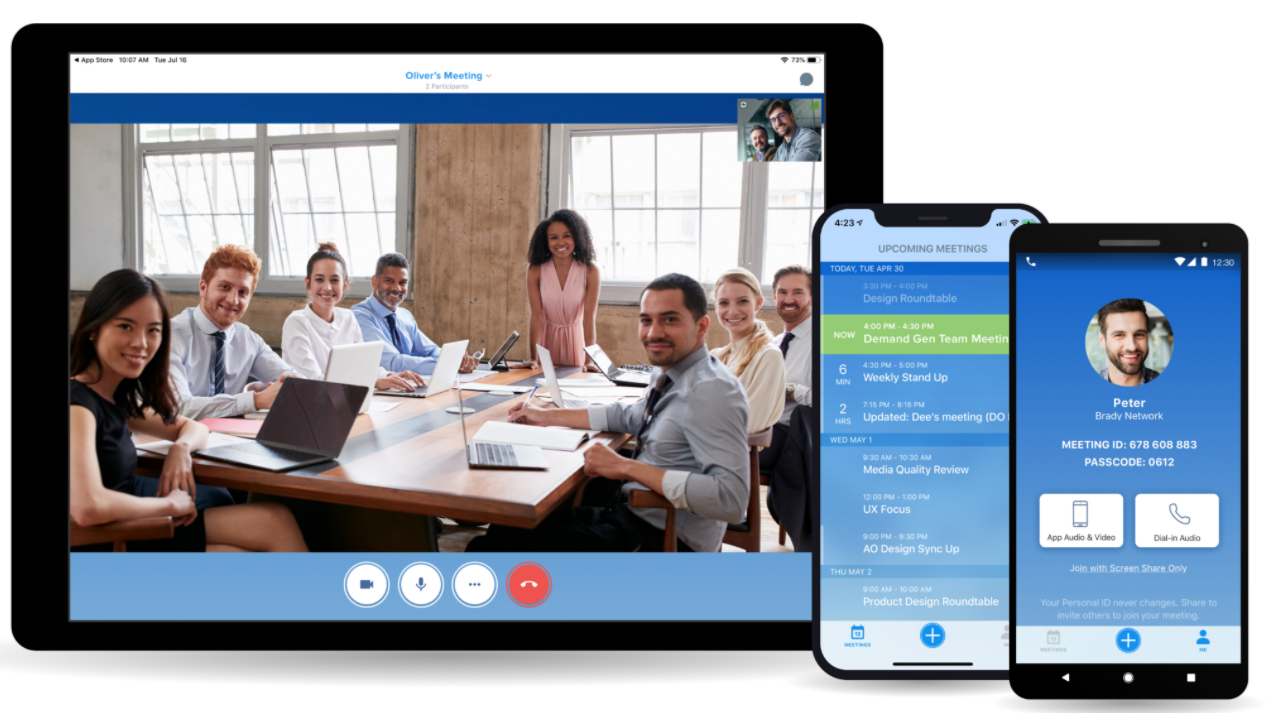
BlueJeans is a web conferencing platform with features that include virtual meetings, webinars, and connected rooms.
With BlueJeans, each meeting is encrypted to make sure that any unwanted participants stay out. Moderators can either admit one participant at a time or accept all participants while also having the option to temporarily move students out of meetings to the waiting room and invite them back.
As a remote teacher, you likely have days full of online meetings with students and have to return to the meeting dashboard each time you switch classes can quickly become frustrating. With BlueJeans, you can enable on-screen notifications so you can join your next meeting with just one click.
Extra features include a digital whiteboard, virtual hand raising, and online polling of your students. For more interactive discussions with your students, you can zoom in and out on content that you share by clicking on the plus and minus sign at the bottom of the screen.
3. Zoom
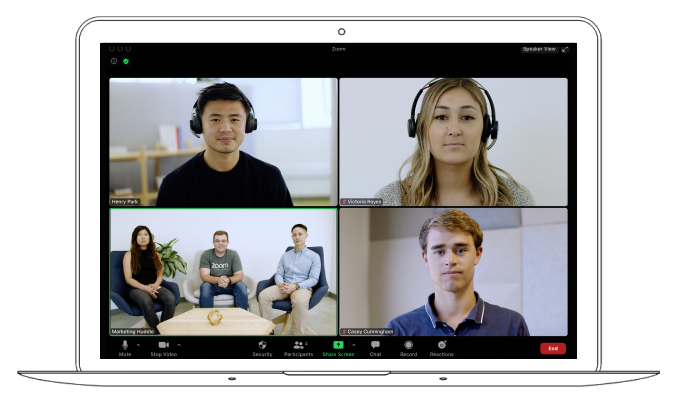
Zoom is a popular web conferencing solution that people across different industries use to engage their audience virtually. It’s a tool that can also serve the needs of users in the education sector.
Students can set up a free account on Zoom and attend your virtual lectures from anywhere by just clicking a link. It also comes with a chat feature that students can use to submit their questions about your virtual class.
To keep students engaged as they would be in real life, Zoom offers you tools such as annotating, whiteboarding, and polling. It’s going to help students participate more in your virtual classes.
4. GoBrunch
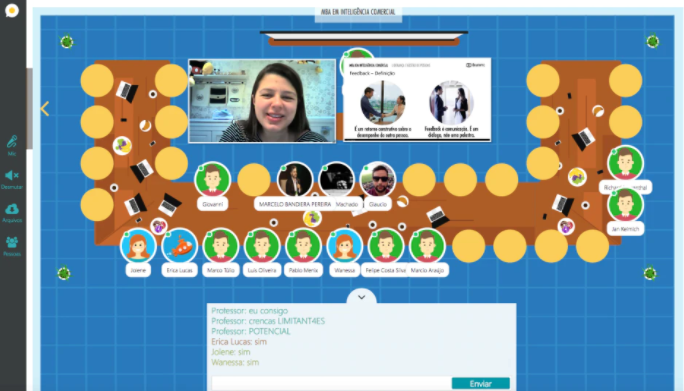
GoBrunch is a free virtual classroom software solution for online teaching and remote learning. It can host virtual classes from anywhere in the world for up to 409 students.
Unlike other platforms, GoBrunch doesn’t come with any time limit for your conferences (even with the free version). Its video recording feature allows you to record and download your lectures, so students can take a second look at your class to make sure they didn’t miss anything.
You can even organize breakout rooms to boost your student’s engagement during virtual classes. GoBrunch also comes with several customizable features, such as adding your school logo to the seminar and choosing your room layout.
5. WizIQ
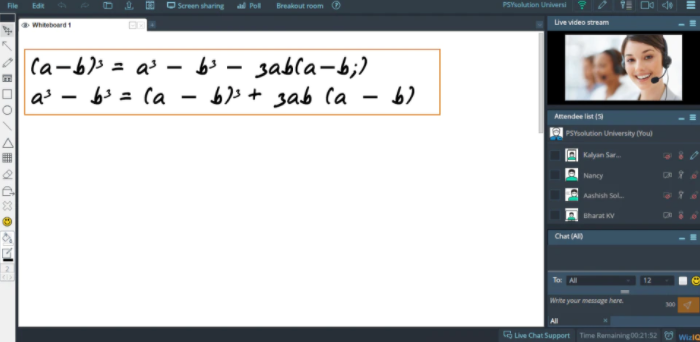
WizIQ allows you to host virtual classes and create online courses all in one learning management system. You can create your own portals in the LMS where students can log in and follow your virtual classes from wherever they are.
You can test your students’ knowledge through polls and quizzes to make sure that they’re retaining your virtual class’s information. Through chat, students can also submit any questions they may have about the lecture.
WizIQ users get access to analytics to measure how their virtual classes are performing. By understanding how students respond to your lectures, you’ll know how to improve your virtual classes.
The virtual classroom software also allows you to turn your lectures into online courses to sell to others. All transactions are quick and secure through WizIQ’s payment platform.
6. Adobe Connect
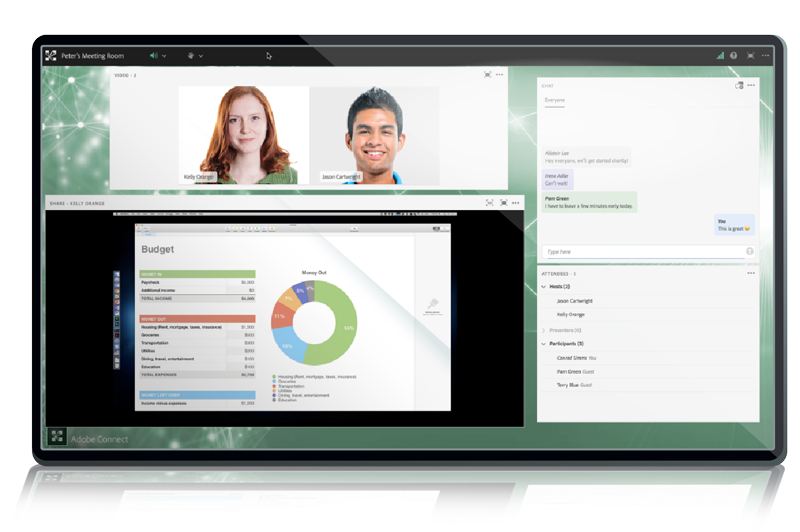
Adobe Connect is a web conferencing platform built for delivering exceptional online learning experiences. It’s used by educational institutions such as Johns Hopkins University and the University of Arizona.
You can create your own custom classroom or use one of Adobe Connect’s many templates. To make the learning experience more engaging, you can also include quizzes to test your students’ knowledge in real-time.
However, Adobe Connect may not be the easiest virtual classroom software tool to navigate. It requires strong technical knowledge to get to a point where you can start maximizing the benefits of the platform. Adobe Connect starts at $370 per month for 200 participants, which may not fit some schools’ pricing budgets.
7. Google Classroom
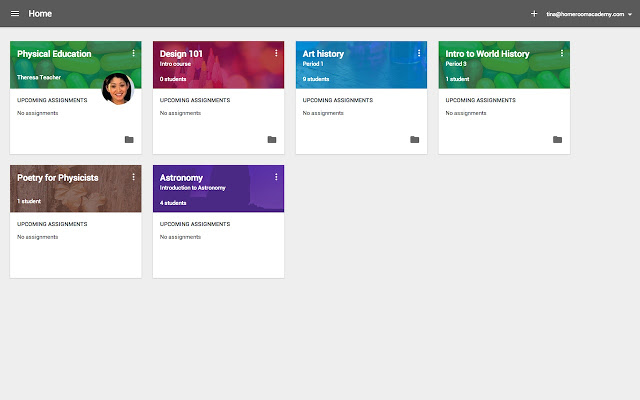
Google Classroom is a free learning platform for educators that allows you to set up classes with just a few clicks. Each time you create a class, it shows up on the student’s calendar, and they simply click the link to attend.
A valuable feature of the platform is its integration with Google Meet to host your virtual classroom. Teachers can also use Google Classroom’s Stream page to publish important announcements to students, such as homework due dates or upcoming tests.
The virtual classroom software also comes with advanced security features to protect the data of your students. Only your class members can access the virtual class, and Google will never use your students’ data for advertising purposes.
8. LearnCube
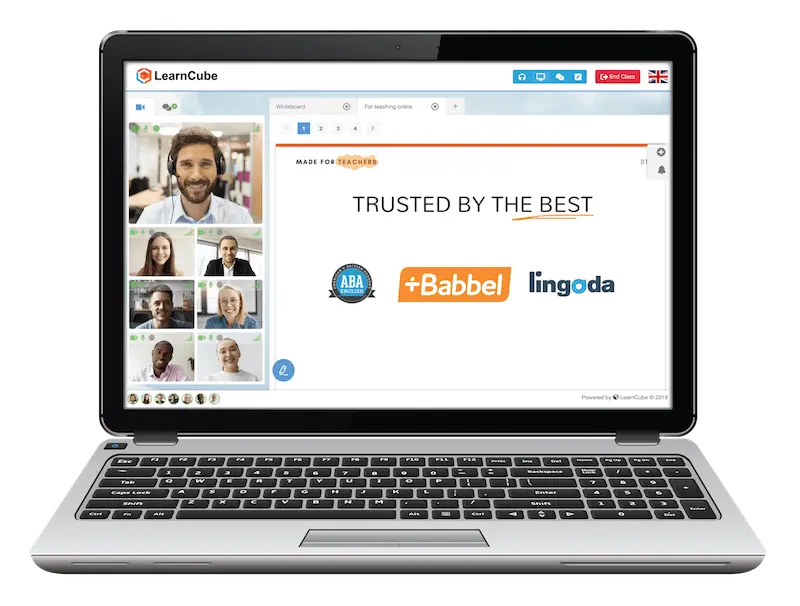
LearnCube is an education platform that makes it easy to host online classes with an interactive whiteboard, high-quality audio, and custom branding options. It includes various resources to help you create the best learning experience for your students.
There’s no need to download any third-party software to get started with the platform. You can also record your live classes and share them with students so they can go back to them as they’re studying.
To add a more personal touch to your virtual classes, you can take advantage of LearnCube’s branding options, which include posting your school logo in lectures, creating a custom domain, and more.
9. Kiddom
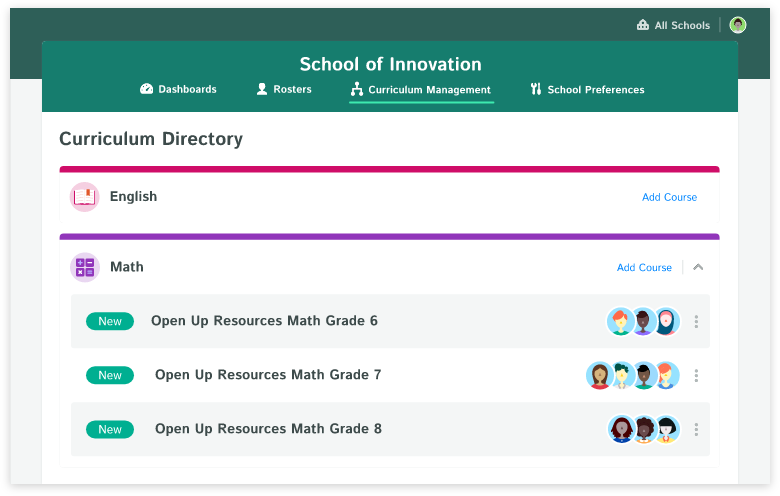
Kiddom is a third-party communication and assignment tool for K-12 teachers. The platform allows you to host virtual classroom sessions, record lessons to share with students, and choose lessons from online partner programs such as Khan Academy. Its set of flexible tools also enables you to adapt to different groups of students, whether it’s just a 1:1 lesson or an entire class.
One of Kiddom’s goals is to empower students and encourage accountability. For example, to help students fully grasp a subject, you can assign them lessons based on their previous progress and teach them how to analyze their own performance to learn to be independent.
As support, Kiddom comes with various resources such as FAQs, tutorials, and downloadable content to help teachers set up the best online classes possible for their students.
10. Dolby.io Interactivity APIs
Many things can get in the way of an effective learning experience – even the slightest disruption can completely distract students from listening. This includes background noise and connectivity issues.
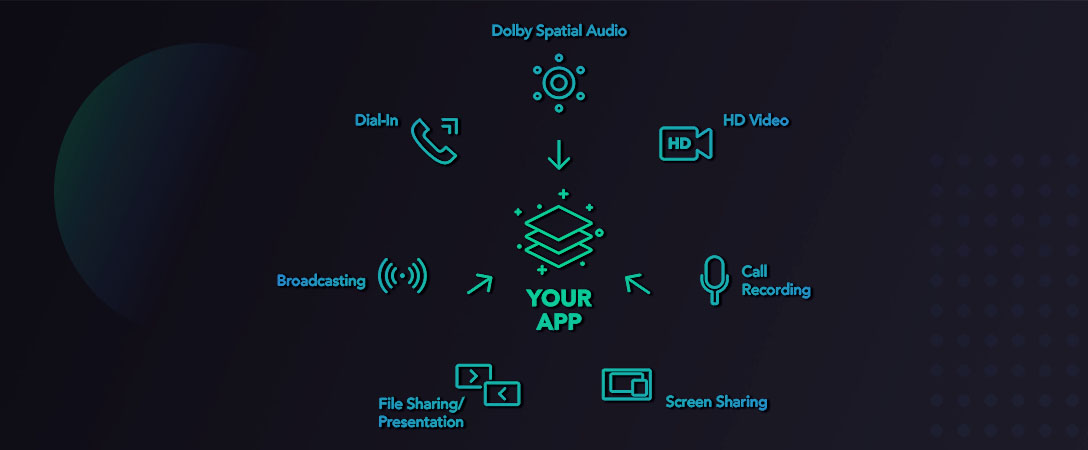
That’s where the Dolby.io Interactivity APIs come in. It comes with APIs to include within your meeting conference platform to build next-level virtual classrooms and keep students focused. In addition, all of the code is packaged in our UXKit and ready for deployment.
For example, one key aspect of Dolby.io’s APIs is its advanced audio enhancement capabilities. With just a few lines of code, you can eliminate any distractions during virtual classes, such as keyboard typing and outside noise, while making sure your voice is intelligible, so students hear every word.
Students may not always have the best internet connection, and they can’t afford to miss important details of your lesson because of it. It’s why the Dolby.io Interactivity APIs come with network resilience, so you can still maintain high-quality audio during challenging network conditions.
Deliver the Best Learning Experience with Virtual Classroom Software
Creating an engaging virtual classroom experience for your students starts by focusing on quality. By choosing the right tools to optimize your virtual classroom’s audio and visual experience, you’ll be able to retain the attention of students and keep them engaged.
For example, let’s say that you’re a high school Spanish teacher. Your students will need to clearly hear how things are pronounced and see how lip shape affects that pronunciation.
Ready to see how the Dolby.io Interactivity APIs can completely transform your virtual classroom with next-level audio and video? Schedule a free demo today.


