


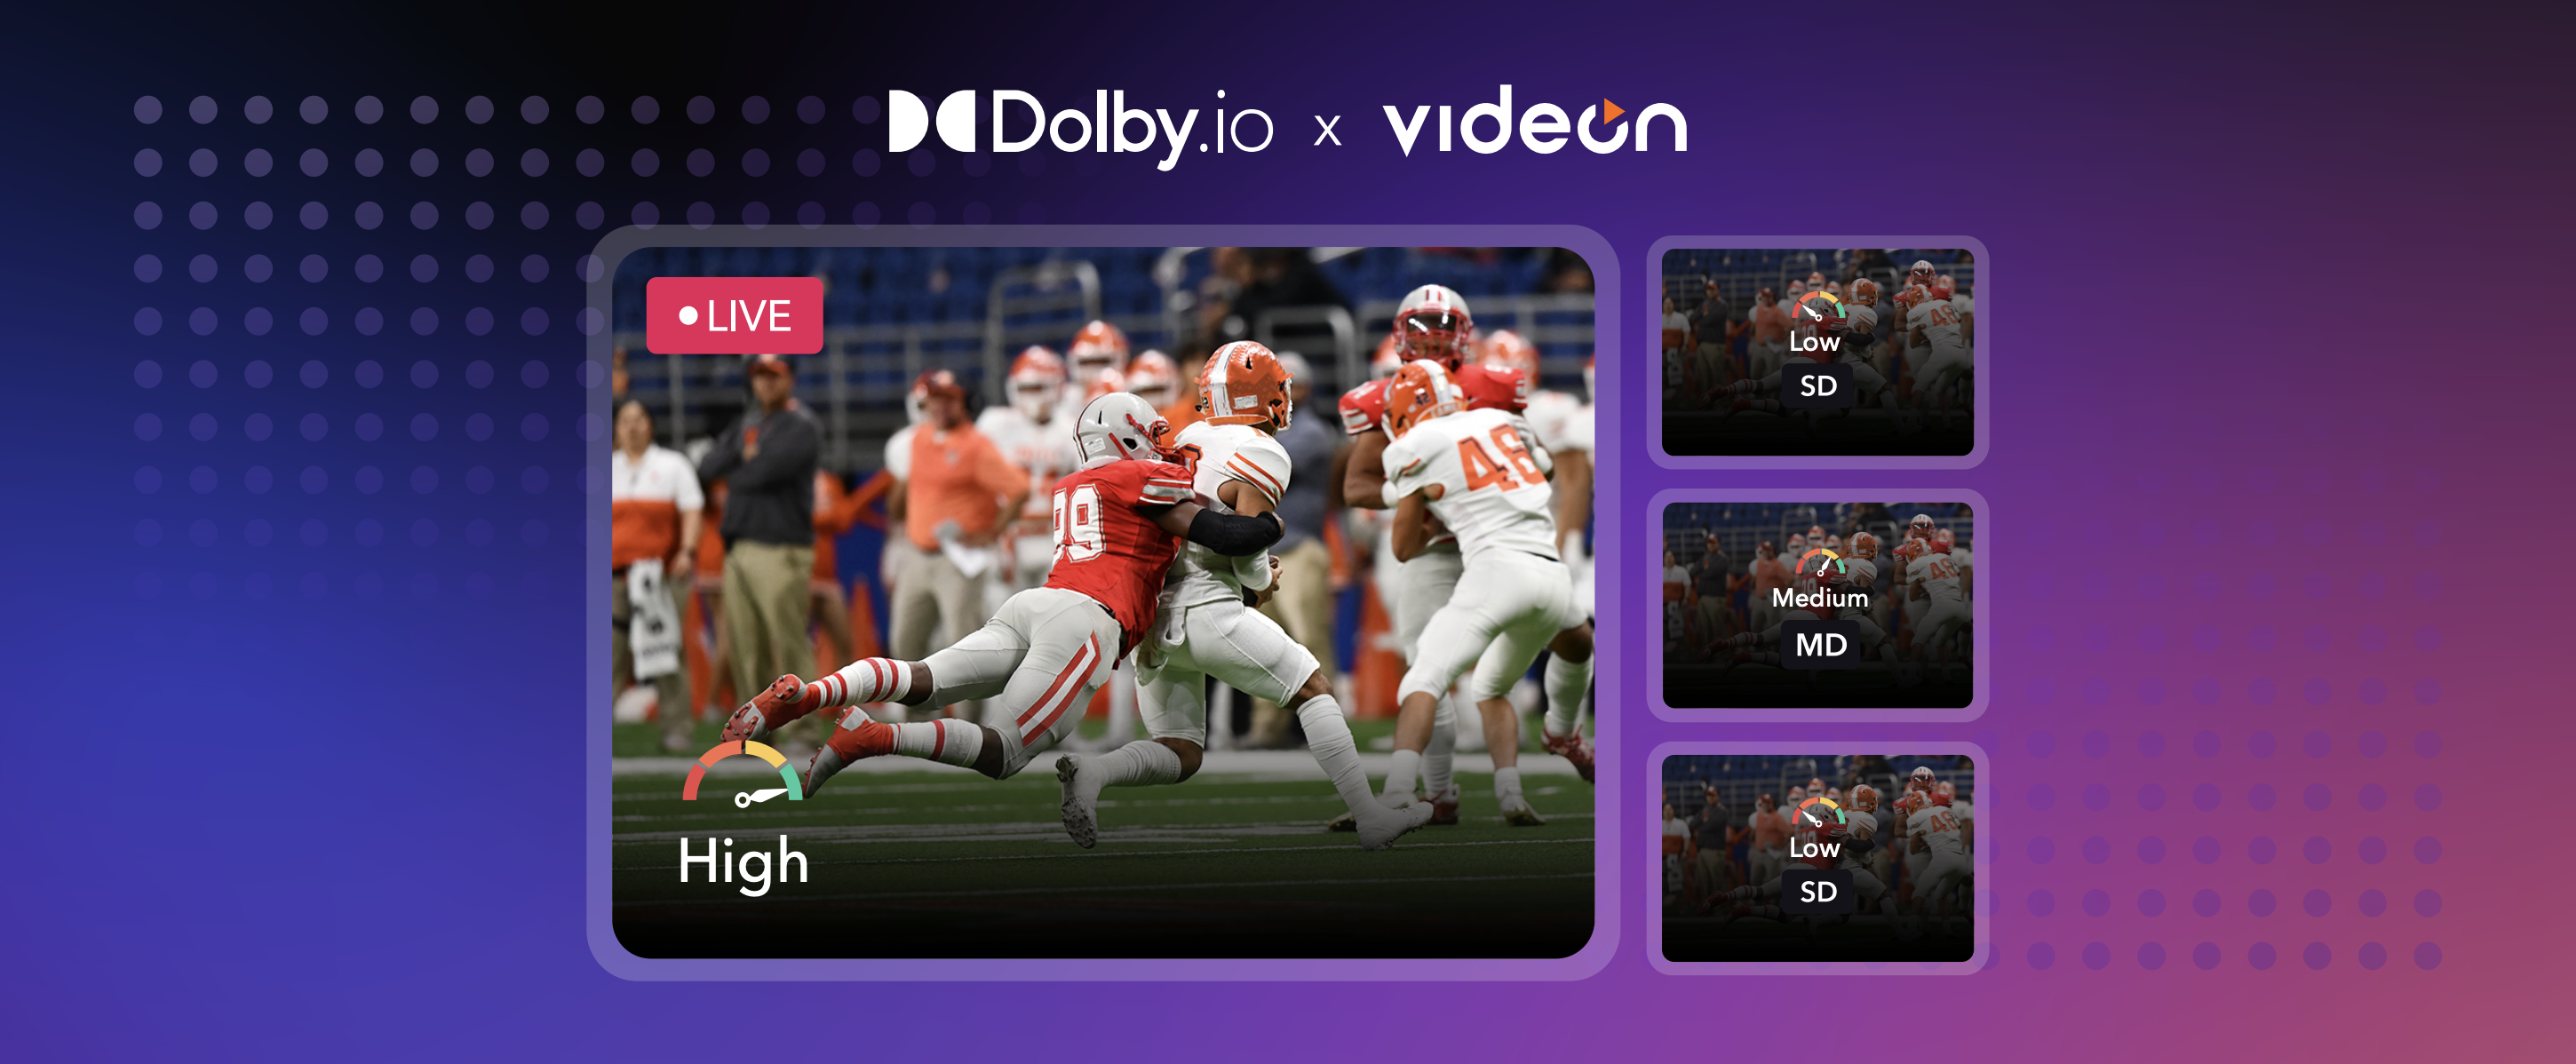
In the last coverage of Videon’s EdgeCaster, we discussed how to deliver different resolutions (simulcast layers) to the audience. Simulcast is especially beneficial to enable the delivery of stable content without buffering for large audiences with diverse networks. However, if you want to build a more complete production, you will need multi-cam coverage. What if the audience could select which cameras they would like to view and never miss a beat of the action, no matter their location? With Dolby.io Streaming API, we can combine Simulcast and Multiview to deliver precisely that.
In this blog, we will use four Videon’s EdgeCaster to cast different views into a single stream with the ability to change the video quality independently for each camera.
*Note: This will build on the previous blog (Unleash Superior Streaming: Harnessing Dolby.io Streaming API and Videon EdgeCaster Encoder for Multi-Bitrate Simulcasting). Make sure to review it to understand how to set up the EdgeCaster and enable multi-bitrate.
Setting Up Additional Devices & Simulcast
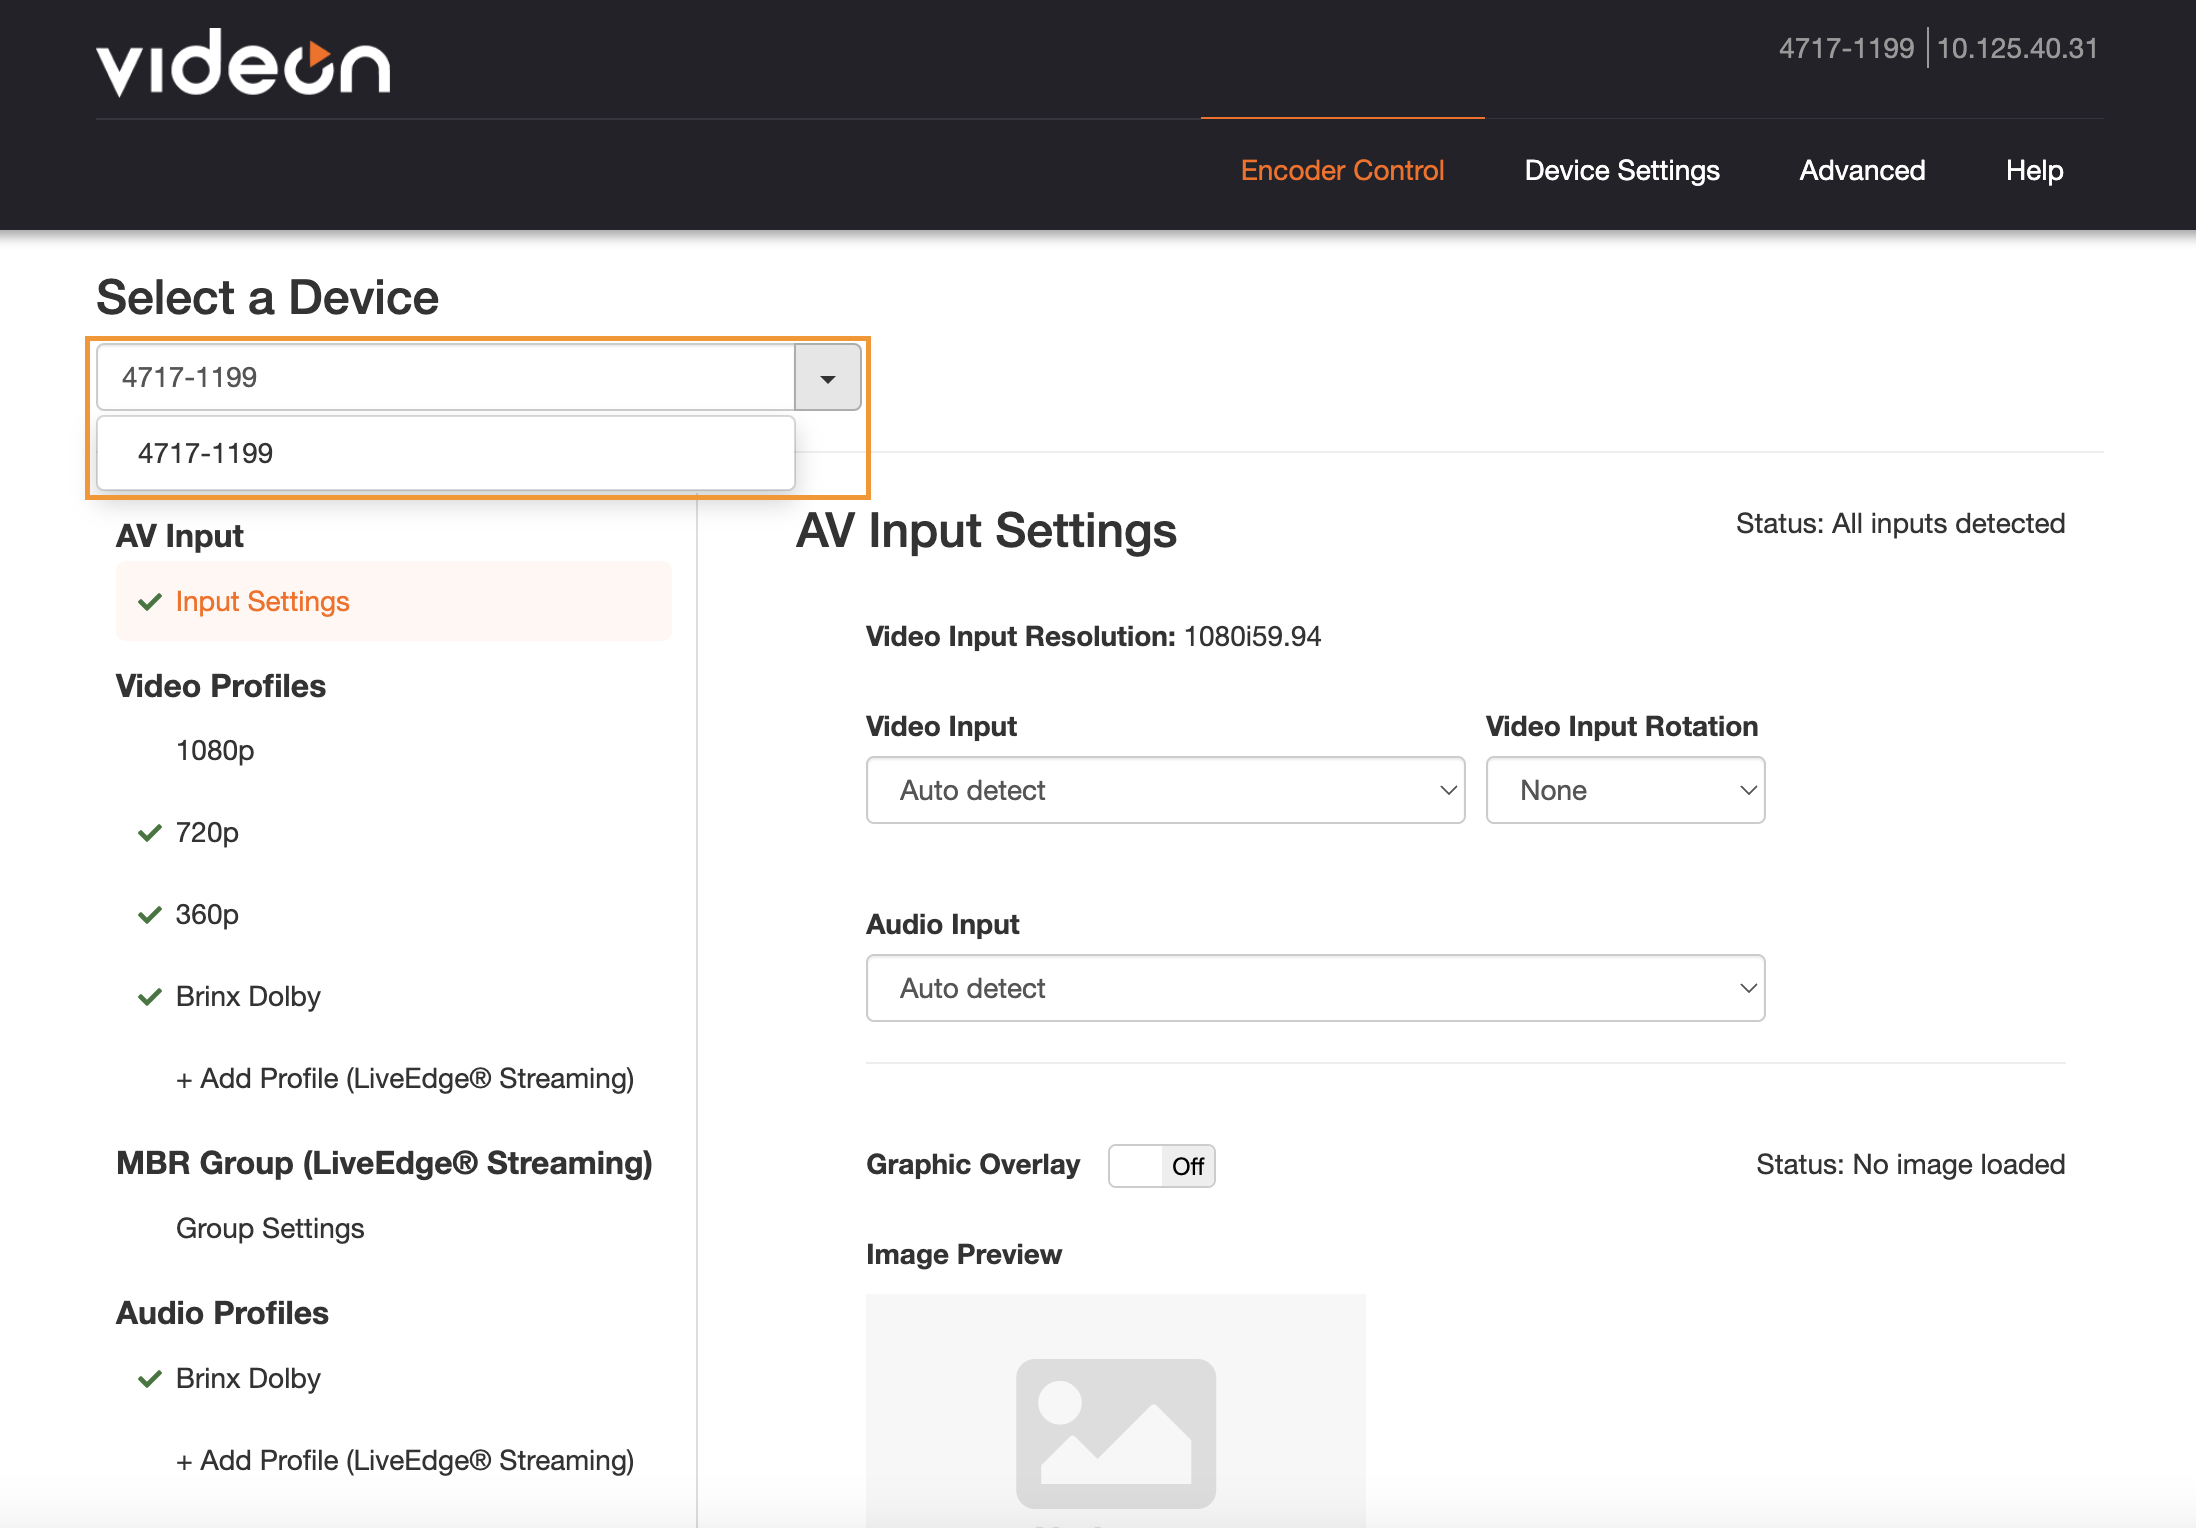
Setting up the additional EdgeCaster is similar for all; each encoder will be attached to a specific camera. Remember to be connected via the same Ethernet cable as the encoders. Inside the Discovery Application, open the Videon Web UI and set up the AV Input Settings per device. On the Video Profiles, create three profiles: High (1080p), Medium (720p), and Low (360p).
| Video Scaling | 1920x1080p (16:9) |
|---|---|
| Encoding Mode | Variable Bitrate |
| H.264 Profile | High Profile |
| Keyframe Interval | 0.5 seconds |
| Quality/Latency | Lowest |
| Video Bitrate | 3500 |
| Video Encoding | H.264 (AVC) |
| Video Scaling | 1280x720p (16:9) |
|---|---|
| Encoding Mode | Variable Bitrate |
| H.264 Profile | High Profile |
| Keyframe Interval | 0.5 seconds |
| Quality/Latency | Lowest |
| Video Bitrate | 3000 |
| Video Encoding | H.264 (AVC) |
| Video Scaling | 640x360p (16:9) |
|---|---|
| Encoding Mode | Variable Bitrate |
| Video Bitrate | 800 |
| Video Encoding | H.264 (AVC) |
| H.264 Profile | High Profile |
| Keyframe Interval | 0.5 seconds |
| Quality/Latency | Lowest |
Switch devices on the left top corner and create the same three profiles for each of the encoders.
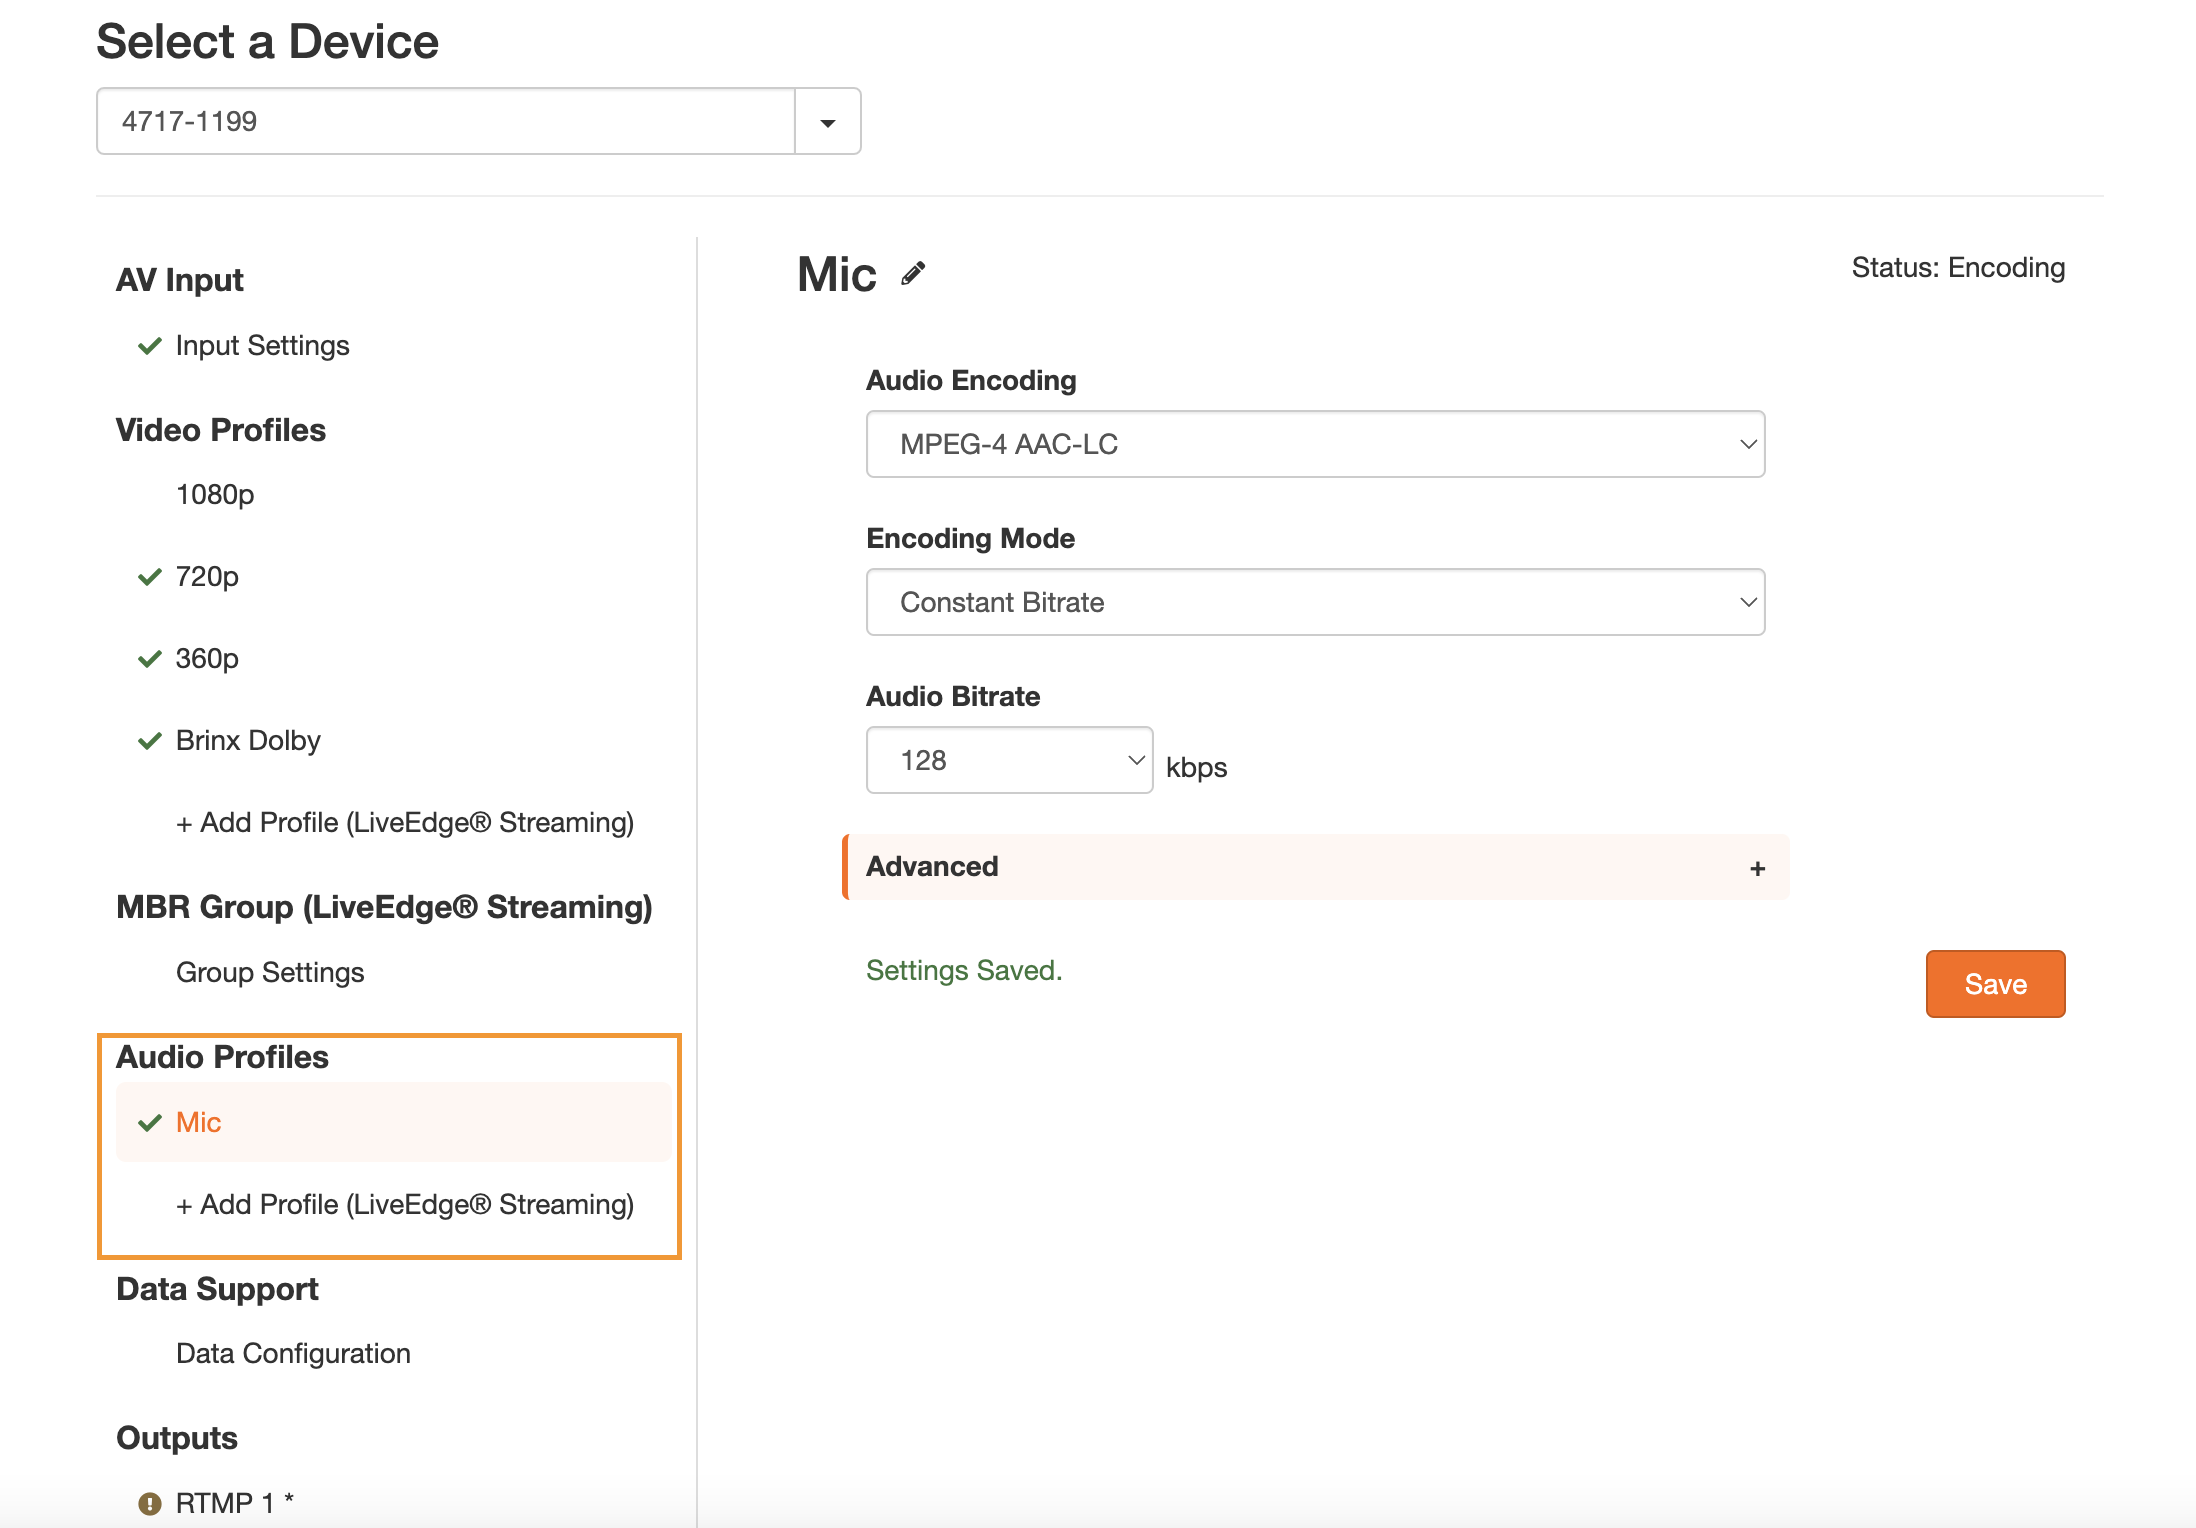
Note: If the videos generate audio, set up the Audio Input to Auto detect on the AV Input Settings for each encoder. Additionally, create an Audio Profile to determine the audio encoding, the encoding mode, and the audio bitrate.
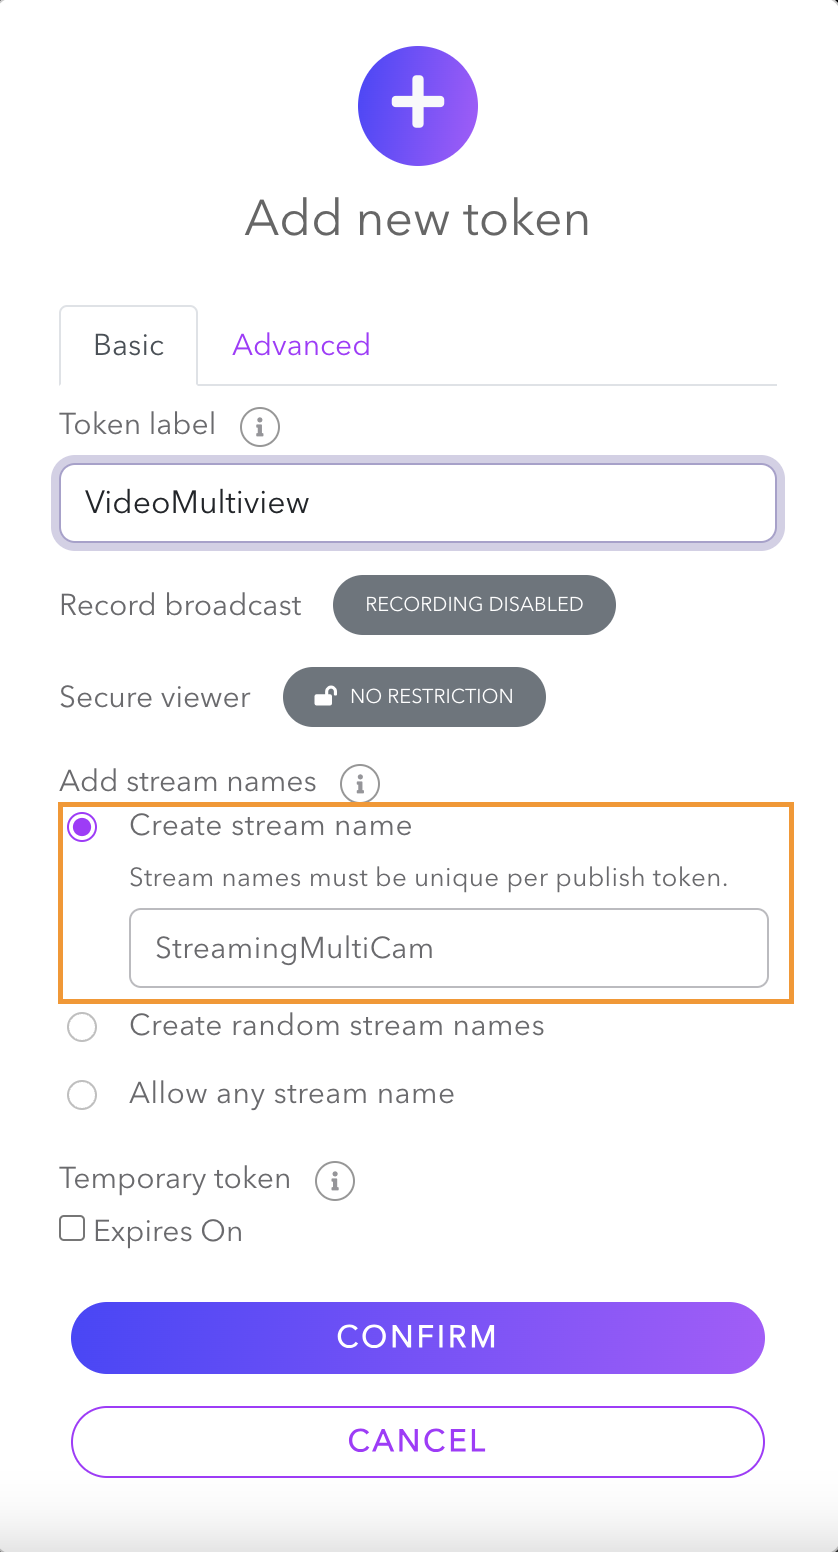
Meanwhile, on the Dolby.io dashboard, create a new stream token and name the stream name a unique name. In this example, it will be “StreamingMultiCam”.
Next, go to Publishing and toggle on the RTMP multibitrate button. This will generate different resolution layers for High, Medium, or Low video quality hence activating Simulcast.
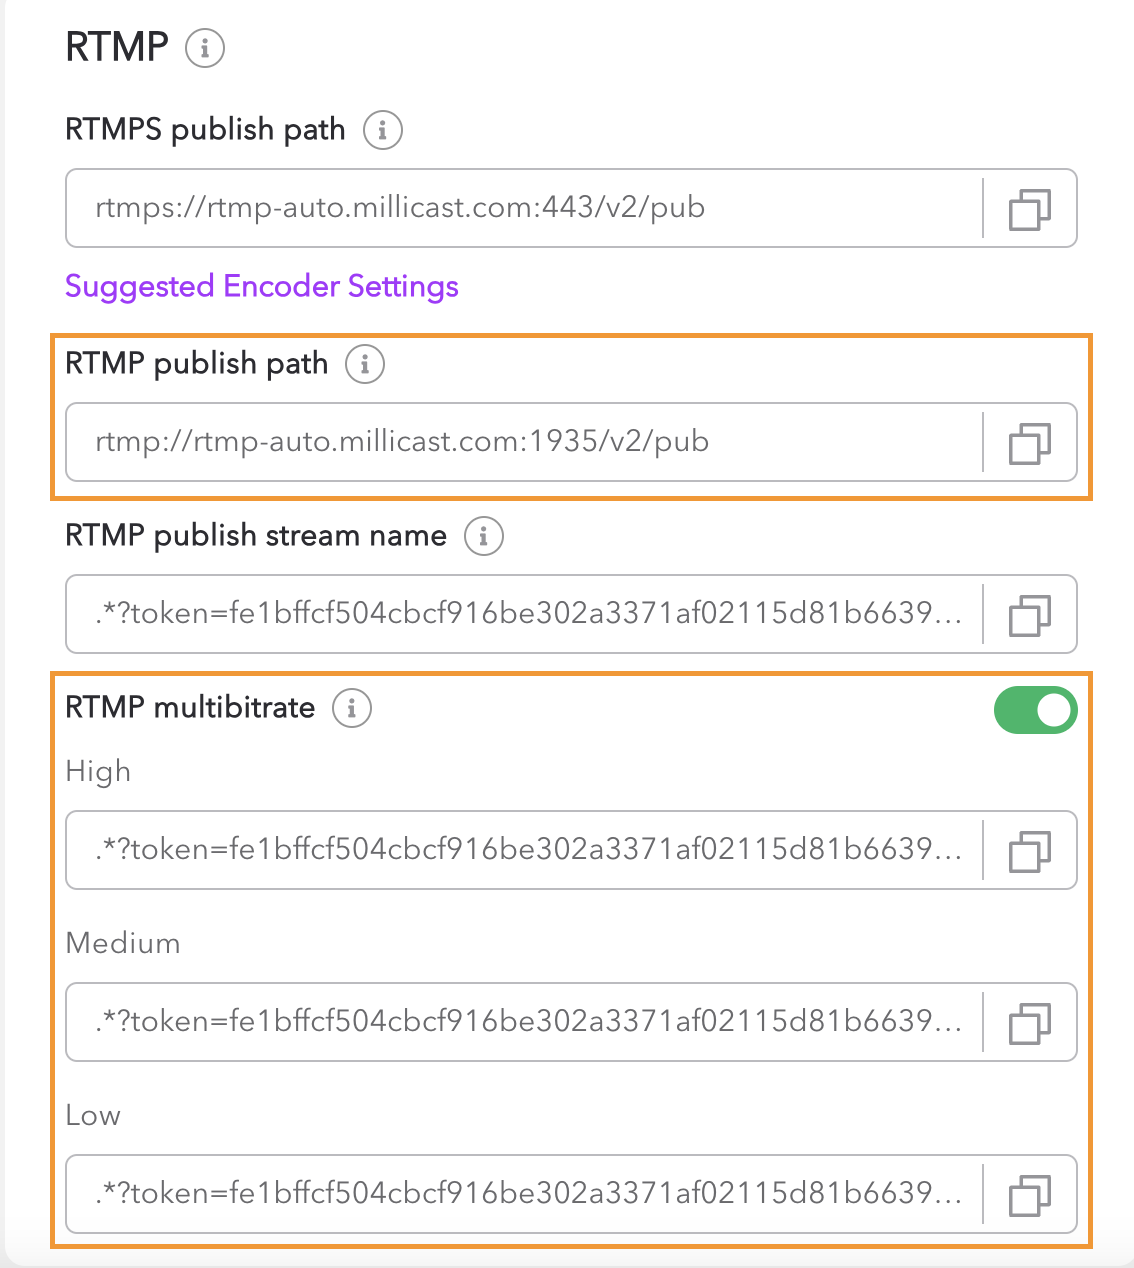
Use these publishing paths as the RTMP 1, 2, and 3 output. Remember that the Stream URL is a combination of the RTMP publish path + “/” + the RTMP multibitrate. Therefore, RTMP 1 will have the RTMP multibitrate High, RTMP 2 – Medium, and RTMP 3 – Low.
| RTMP 1 | |
|---|---|
| Video Source | 1080p |
| Audio Source | Mic |
| Streaming Providers | Generic RTMP |
| Stream URL | rtmp://rtmp-auto.millicast.com:1935/v2/pub/StreamingMultiCam?token=fe1bffcf504cbcf916be302a3371af02115d81b66391904c43ba3f5ee56b8526&sourceId=1&simulcastId |
| RTMP 2 | |
|---|---|
| Video Source | 720p |
| Audio Source | Mic |
| Streaming Providers | Generic RTMP |
| Stream URL | rtmp://rtmp-auto.millicast.com:1935/v2/pub/StreamingMultiCam?token=fe1bffcf504cbcf916be302a3371af02115d81b66391904c43ba3f5ee56b8526&sourceId=2&simulcastId&videoOnly |
| RTMP 3 | |
|---|---|
| Video Source | 360p |
| Audio Source | Mic |
| Streaming Providers | Generic RTMP |
| Stream URL | rtmp://rtmp-auto.millicast.com:1935/v2/pub/StreamingMultiCam?token=fe1bffcf504cbcf916be302a3371af02115d81b66391904c43ba3f5ee56b8526&sourceId=3&simulcastId&videoOnly |
Enabling Multiview Perspective
Now, will the same paths be used for the other EdgeCasters? Yes and no. They will be the same in terms of assigning the publishing paths to each RTMP output, but there is an additional identifier needed. Let’s look at one of the URLs.
| rtmp://rtmp-auto.millicast.com:1935/v2/pub/StreamingMultiCam?token=fe1bffcf504cbcf916be302a3371af02115d81b66391904c43ba3f5ee56b8526&sourceId=1&simulcastId |
At the end of this URL, there are two labels: sourceId and the simulcastId. The sourceId allows us to keep track of all of the streams happening. Therefore, it will increment along with each new instance made. In the first encoder, 1-3 will be assigned as sourceId; in the second encoder, 4-6 will be set, 7-9 subsequently for the third, and 10-12 for the fourth one.
Now the simulcastId works a bit differently. We know we are generating a single stream’s high, medium, and low versions. However, we want only some videos to appear in the multiview. We want to select four videos and then have the user determine which resolution to play out based on their internet bandwidth. For that, the simulcastId groups of the same video layers together. An identifier must be created for encoders two, three, and four. Usually, a good rule will be to label them by the camera view they are capturing. For example, if it is a drone camera, the label can be “DRONE”. To identify the camera, add “=CameraLabel” → ex. simulcastId=DRONE.
- Note: The first encoder will always be registered as “MAIN”.
Here will be an example of six layers coming from two cameras (EdgeCaster 2 and 3):
| RTMP 1 – Edgecaster 2 | rtmp://rtmp-auto.millicast.com:1935/v2/pub/StreamingMultiCam?token=fe1bffcf504cbcf916be302a3371af02115d81b66391904c43ba3f5ee56b8526&sourceId=4&simulcastId=DRONE&videoOnly |
| RTMP 2 – Edgecaster 2 | rtmp://rtmp-auto.millicast.com:1935/v2/pub/StreamingMultiCam?token=fe1bffcf504cbcf916be302a3371af02115d81b66391904c43ba3f5ee56b8526&sourceId=5&simulcastId=DRONE&videoOnly |
| RTMP 3 – Edgecaster 2 | rtmp://rtmp-auto.millicast.com:1935/v2/pub/StreamingMultiCam?token=fe1bffcf504cbcf916be302a3371af02115d81b66391904c43ba3f5ee56b8526&sourceId=6&simulcastId=DRONE&videoOnly |
| RTMP 1 – Edgecaster 3 | rtmp://rtmp-auto.millicast.com:1935/v2/pub/StreamingMultiCam?token=fe1bffcf504cbcf916be302a3371af02115d81b66391904c43ba3f5ee56b8526&sourceId=7&simulcastId=CAM3&videoOnly |
| RTMP 2 – Edgecaster 3 | rtmp://rtmp-auto.millicast.com:1935/v2/pub/StreamingMultiCam?token=fe1bffcf504cbcf916be302a3371af02115d81b66391904c43ba3f5ee56b8526&sourceId=8&simulcastId=CAM3&videoOnly |
| RTMP 3 – Edgecaster 3 | rtmp://rtmp-auto.millicast.com:1935/v2/pub/StreamingMultiCam?token=fe1bffcf504cbcf916be302a3371af02115d81b66391904c43ba3f5ee56b8526&sourceId=9&simulcastId=CAM3&videoOnly |
An important piece is all have the same StreamName. These videos will all be streaming under the same stream token, and in order for them to show up in the same multiview layout, they all need to have the same StreamName, which you can see after the “…pub/”. If you want one audio source for all streams, add on all except the first sourceId “&videoOnly”.
| RTMP 1 – EdgeCaster 1 | rtmp://rtmp-auto.millicast.com:1935/v2/pub/StreamingMultiCam?token=fe1bffcf504cbcf916be302a3371af02115d81b66391904c43ba3f5ee56b8526&sourceId=1&simulcastId |
| RTMP 2 – EdgeCaster 1 | rtmp://rtmp-auto.millicast.com:1935/v2/pub/StreamingMultiCam?token=fe1bffcf504cbcf916be302a3371af02115d81b66391904c43ba3f5ee56b8526&sourceId=2&simulcastId=DRONE&videoOnly |
| RTMP 3 – EdgeCaster 1 | rtmp://rtmp-auto.millicast.com:1935/v2/pub/StreamingMultiCam?token=fe1bffcf504cbcf916be302a3371af02115d81b66391904c43ba3f5ee56b8526&sourceId=3&simulcastId=DRONE&videoOnly |
| RTMP 1 – EdgeCaster 2 | rtmp://rtmp-auto.millicast.com:1935/v2/pub/StreamingMultiCam?token=fe1bffcf504cbcf916be302a3371af02115d81b66391904c43ba3f5ee56b8526&sourceId=4&simulcastId=DRONE&videoOnly |
| RTMP 2 – EdgeCaster 2 | rtmp://rtmp-auto.millicast.com:1935/v2/pub/StreamingMultiCam?token=fe1bffcf504cbcf916be302a3371af02115d81b66391904c43ba3f5ee56b8526&sourceId=5&simulcastId=DRONE&videoOnly |
| RTMP 3 – EdgeCaster 2 | rtmp://rtmp-auto.millicast.com:1935/v2/pub/StreamingMultiCam?token=fe1bffcf504cbcf916be302a3371af02115d81b66391904c43ba3f5ee56b8526&sourceId=6&simulcastId=DRONE&videoOnly |
In the end, all of the encoders’ outputs should look like this:
Viewing the Multi-Cam System
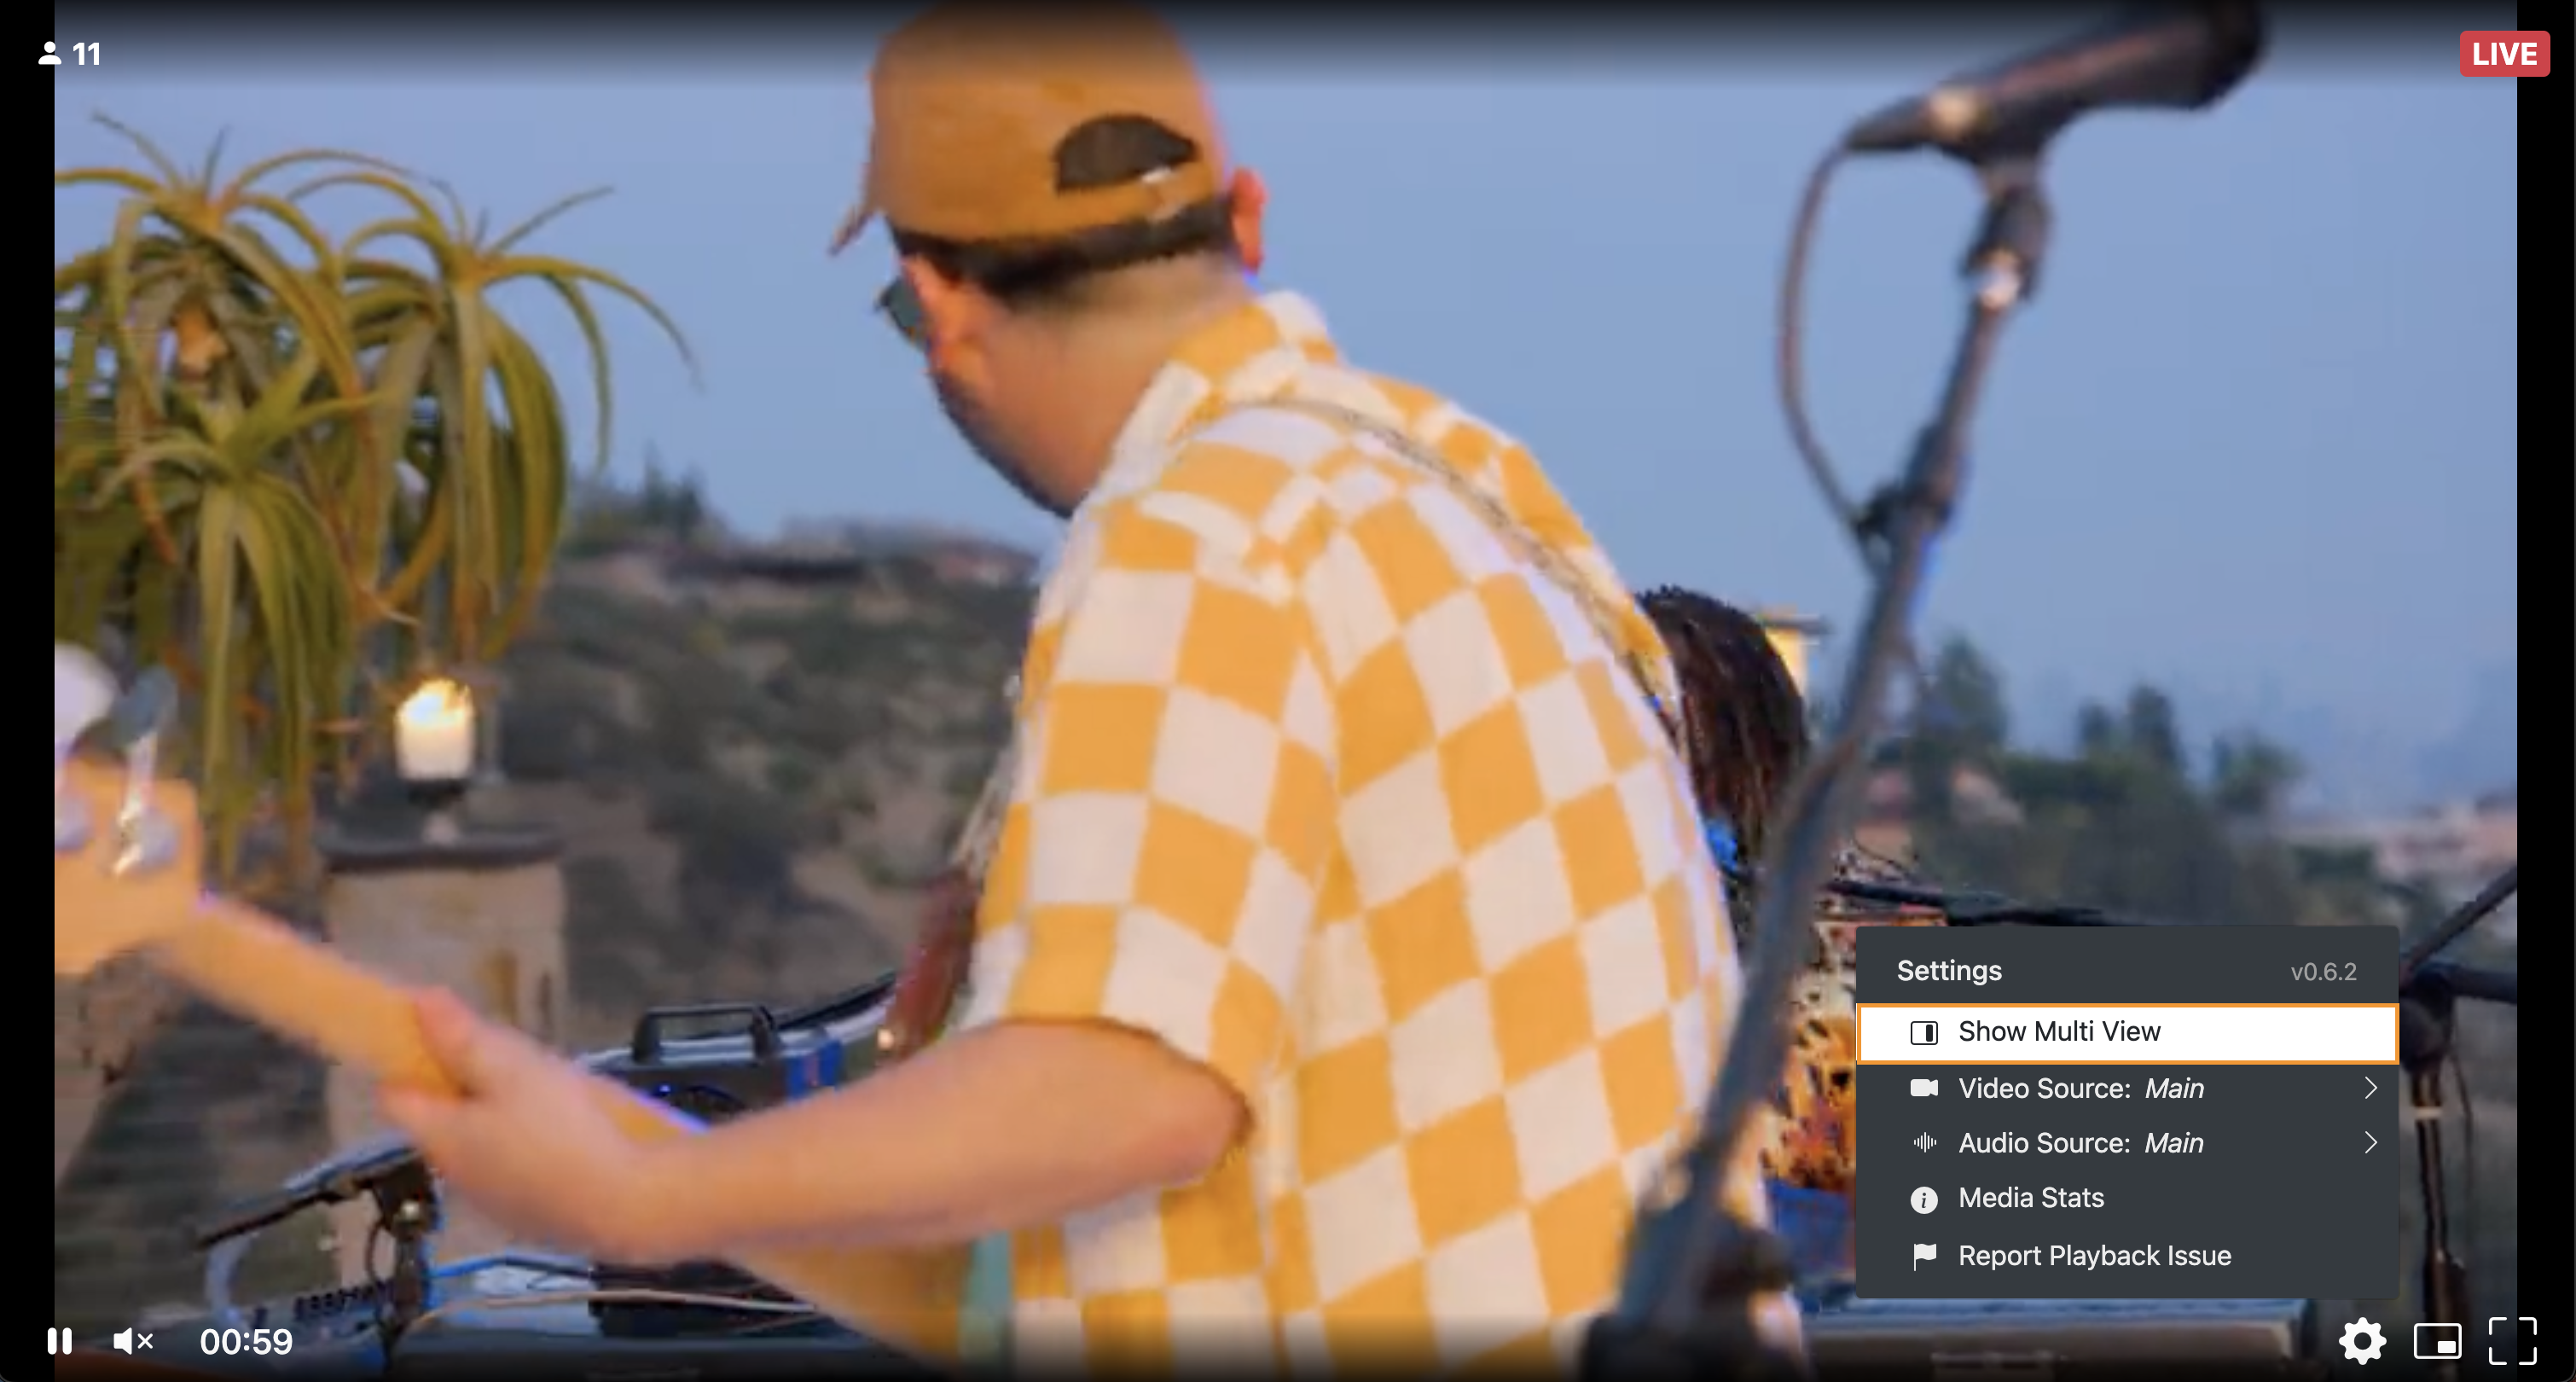
With all the information set up for each EdgeCasters with their respective stream URLs, it is time to watch it! Go back into Dolby.io Streaming Dashboard, and inside the stream token used, go to Playback. Copy the Hosted Player Path in a new tab, and voilà, you will see the main camera (EdgeCaster 1) running in full screen. Visit the gear on the down-right corner and click Show Multiview. This will cause all other encoders to show up on your view. Select which camera you would like to amplify, and it will be centered, or by revisiting the gear at the bottom, press on Change layout for an all-equals view.
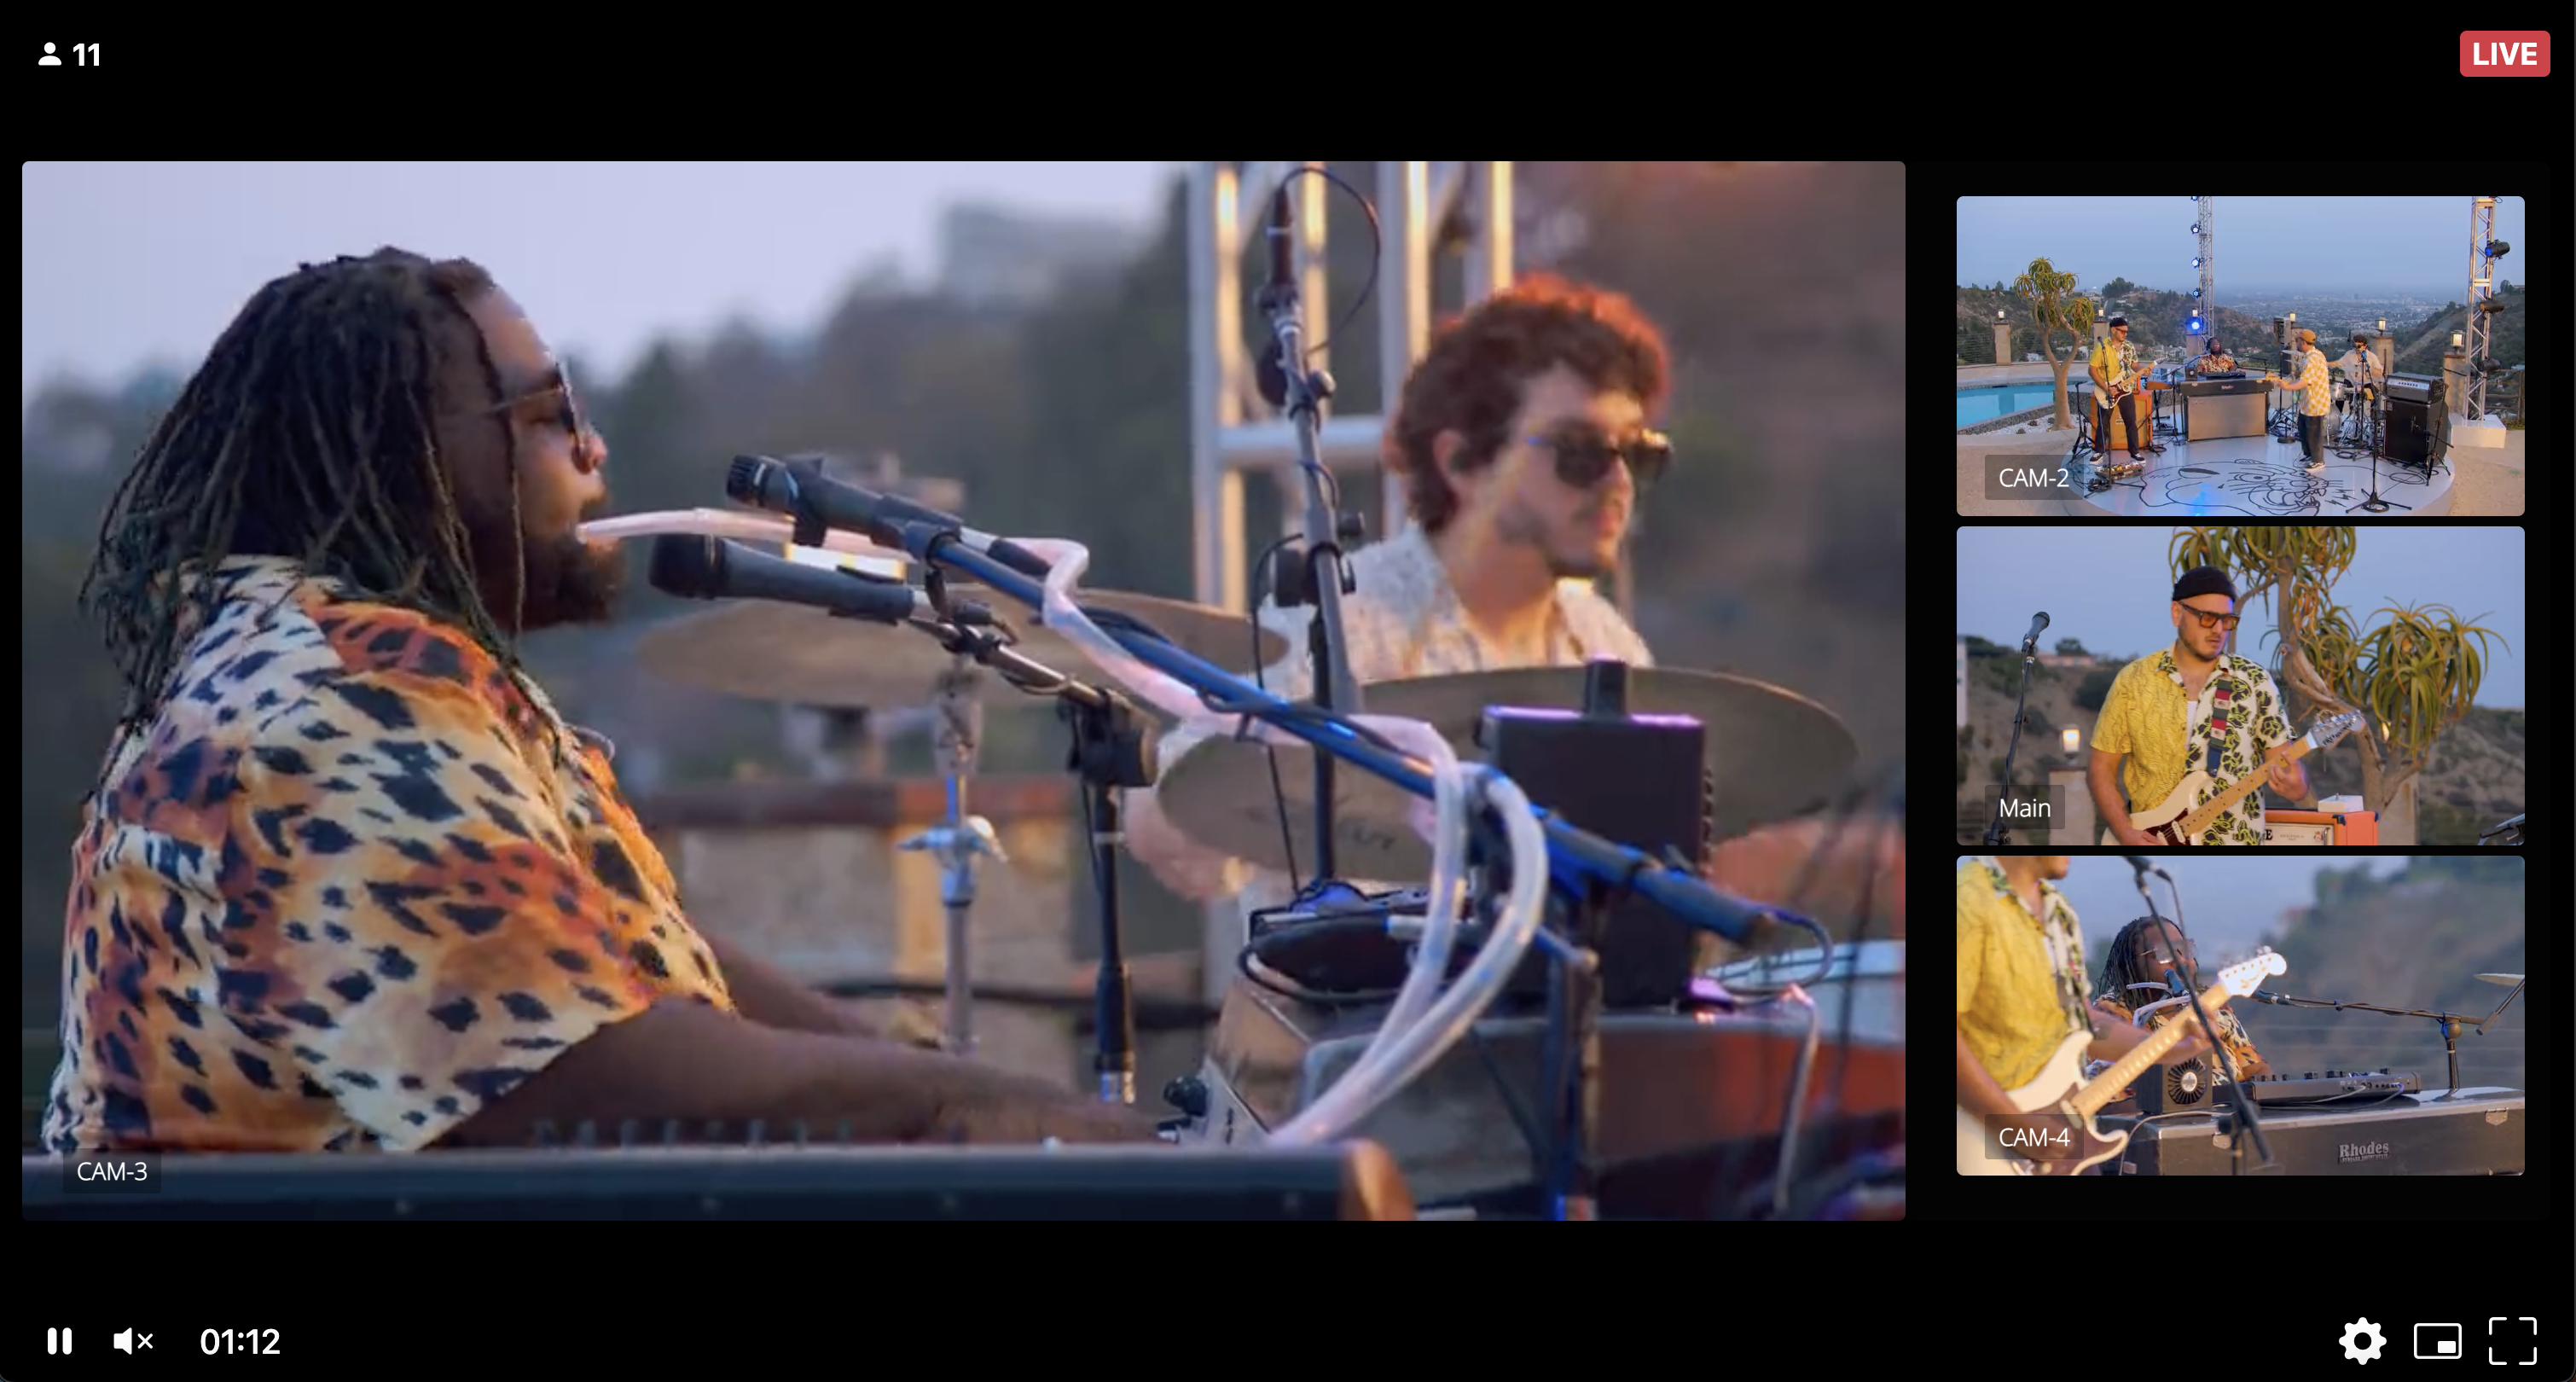
There you have it! Now you have a multiview with all of the Videon EdgeCasters with the ability to control each video’s quality, meaning you can run the CAM-2 on low, the CAM-3 on medium, and the rest on high quality. It is all up to you! Remember to check out the Videon documentation for more information as well as the benefits of integrating these sorts of interactions for fan engagement.


")